Vinyl sheet flooring (PVC sheet flooring) is widely used in modern residential, commercial, and wet-area applications due to its seamless surface, waterproof performance, and hygienic advantages.
Unlike tile or plank flooring, vinyl sheet flooring requires a systematic installation process, including strict control of subfloor conditions, adhesive application, moisture management, and seam welding—especially when used in bathrooms or areas requiring wall upturn installation.
This guide explains the full installation process in a structured, construction-level workflow based on real project requirements.
What Is Vinyl Sheet Flooring?
Vinyl sheet flooring is a flexible resilient flooring material made primarily from PVC (polyvinyl chloride). It is supplied in large continuous rolls and installed using full-surface adhesive bonding.
Material Structure
A typical vinyl sheet flooring system includes:
- Wear layer (surface protection layer)
- Printed decorative layer
- Stabilizing core layer
- Backing layer for bonding
This multi-layer structure is designed to balance:
- durability
- flexibility
- waterproof performance
- visual consistency
Common Applications
Vinyl sheet flooring is widely used in:
- Residential interiors
- Basements
- Bathrooms and shower rooms
- Healthcare environments
- Schools and commercial buildings
A key advantage is its seamless installation, which reduces water penetration risks in wet environments.
Tools and Materials Needed for Installation
Proper installation requires a full system of materials rather than flooring alone.
Core Materials
- PVC sheet flooring (typically 2.0mm thickness in many projects)
- Water-based primer (interface agent)
- Self-leveling cement (C20/C25 grade commonly used)
- Flooring adhesive
- Wall upturn adhesive
- Waterproof two-component adhesive (for bathrooms)
- Anti-mold sealant
- Color-matched welding rods
Installation Tools
- Notched trowel
- Floor roller (metal pressure roller)
- Soft pushing board (air removal tool)
- Heat gun
- Seam welding machine
- Utility knife
- Measuring and marking tools
- Vacuum cleaner
Site Conditions and Environmental Requirements
Before installation begins, environmental stability is critical for adhesive performance and material behavior.
Recommended Conditions
- Temperature: above 15°C (optimal above 18°C)
- Relative humidity: ≤ 60%
Conditions to Avoid
Installation should NOT be performed under:
- Temperature below 10°C
- Temperature above 35°C
- Humidity above 90%
- Extremely dry conditions (below 30% RH)
Why This Matters
Vinyl sheet flooring and adhesives are sensitive to:
- curing speed
- bonding strength
- dimensional stability
Unstable environments may lead to:
- bubbling
- adhesive failure
- warping or lifting
Subfloor Requirements (Critical Foundation Stage)
A stable subfloor determines the final quality of the entire flooring system.
Concrete Subfloor Requirements
The concrete base must meet the following conditions:
- Strength: ≥ C20 (≥ C25 recommended for bathrooms)
- Surface hardness: > 1.2 MPa
- Moisture content: ≤ 4% (≤ 3% for bathrooms)
- Flatness:
- ≤ 5mm deviation (2m straight edge)
- ≤ 1mm for bathrooms
Surface Condition Requirements:
- No oil stains
- No cracks or loose particles
- No hollow areas
- No dust or weak surface layers
Bathroom Subfloor Requirements
Bathrooms require additional waterproof preparation:
- Waterproof layer must be completed first
- Self-leveling layer applied on top
- 24–72h water retention (closed water test)
- Minimum 3% drainage slope toward drain
Tile Subfloor (Existing Surface)
Vinyl sheet flooring can be installed over existing tiles if:
- Tiles are firmly bonded
- No hollow or loose tiles
- Surface height difference ≤ 1mm
If necessary:
- Grind tile joints for smoothness
- Repair damaged areas with leveling compound
Wall Surface for 10cm Upturn Area
For wall upturn installation:
- Wall flatness ≤ 2mm per 2m
- Moisture content < 5%
- Remove loose paint, plaster, or dust
- Sand and vacuum before installation
Step-by-Step Installation Process
Step 1 – Site Protection and Preparation
Before installation:
- Remove all furniture and obstacles
- Protect walls, doors, and fixtures with film
- Ensure ventilation
For bathrooms:
- Remove toilet, sink, and exposed piping if needed
- Seal valves to prevent leakage
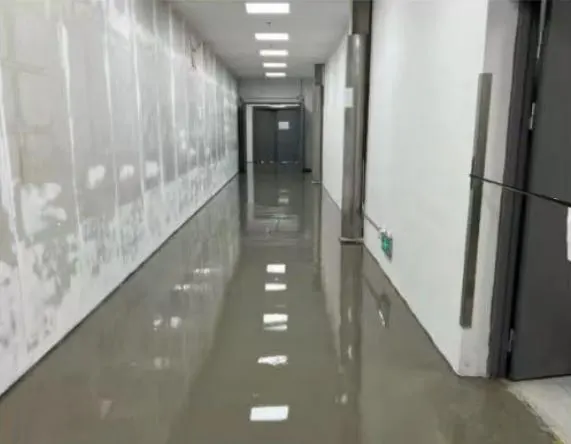
Step 2 – Old Flooring Removal and Subfloor Cleaning
- Identify removal starting point
- Use heat gun to soften old flooring if necessary
- Remove flooring using scrapers
- Grind residual adhesive
- Clean cracks and repair structural defects
- Vacuum thoroughly
Bathroom note:
- Remove residual silicone at wall base

Step 3 – Primer Application
- Mix primer with water (1:1 ratio)
- Apply approximately 150g/m²
- Roll in cross-direction
- Purpose: seal dust and improve adhesion
Dry completely before next step.
Step 4 – Self-Leveling Compound Application
This is a critical leveling stage.
- Minimum thickness: 2mm
- Use notched trowel for spreading
- Use spike roller to remove air bubbles
- Ensure continuous pouring without height difference between batches
Curing:
- 24h closed curing
- 72h before further installation
- Light sanding after curing
- Re-priming after sanding if required
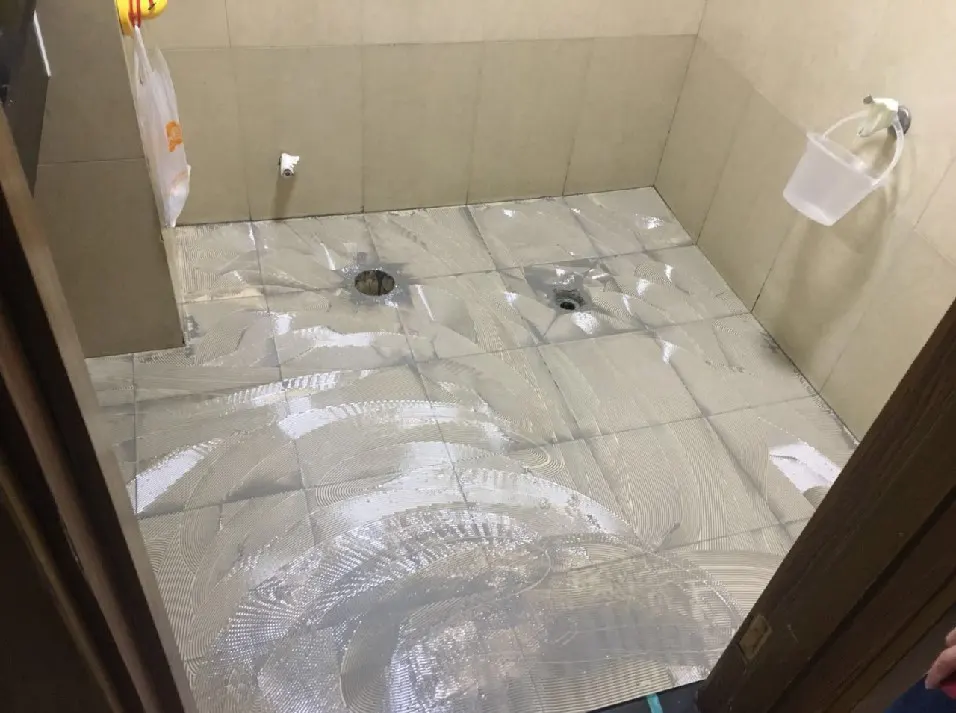
Step 5 – Bathroom Waterproof Base Treatment
- Seal drain openings with repair compound
- Ensure drain height is flush or slightly lower (≤1mm)
- Dry completely using heat gun
- No moisture allowed before installation
Step 6 – Layout and Marking
- Install 10cm aluminum wall support profile (no wall damage required)
- Mark reference lines
- Plan layout before cutting
- Prepare accessories:
- internal corners
- external corners
- edge trims
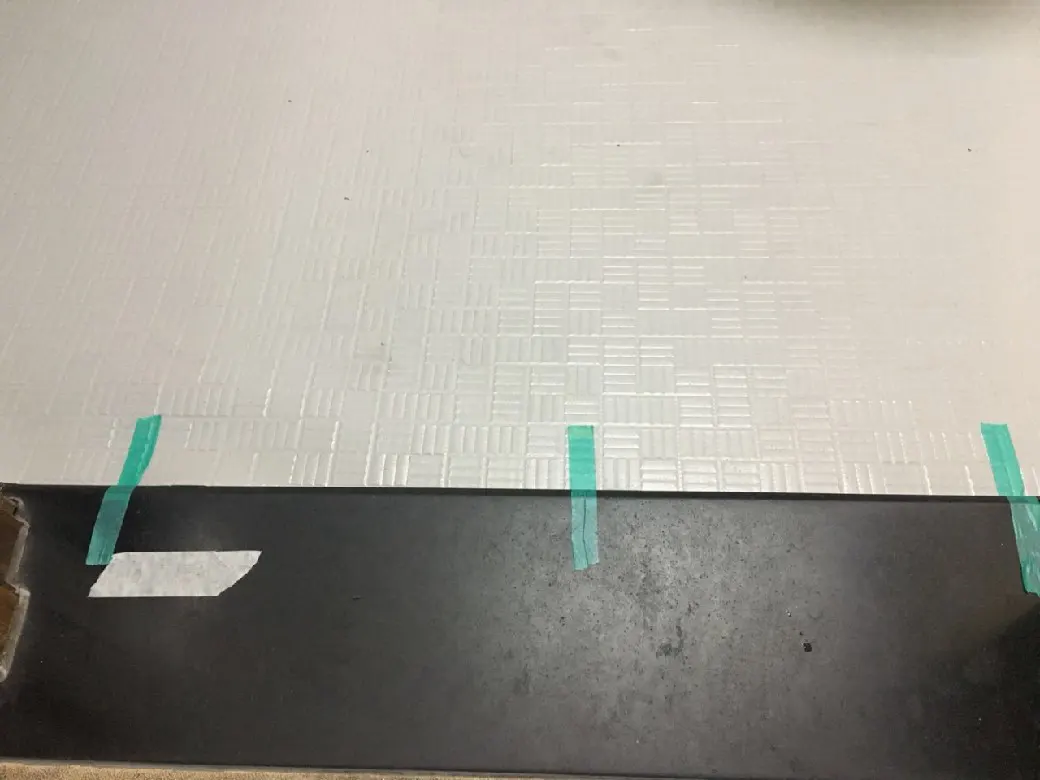
Step 7 – Dry Layout and Cutting
- Place vinyl sheet on site for at least 24 hours
- Allow material stabilization
- Cut with 5cm allowance for wall upturn
- Use masking tape for positioning in bathrooms
Step 8 – Adhesive Application and Installation
General Areas:
- Apply full-surface adhesive
- Wait 10–15 minutes until “non-sticky touch stage”
- Start installation from corner
- Use soft push board to remove air
- Roll surface with pressure roller
- Clean excess adhesive immediately
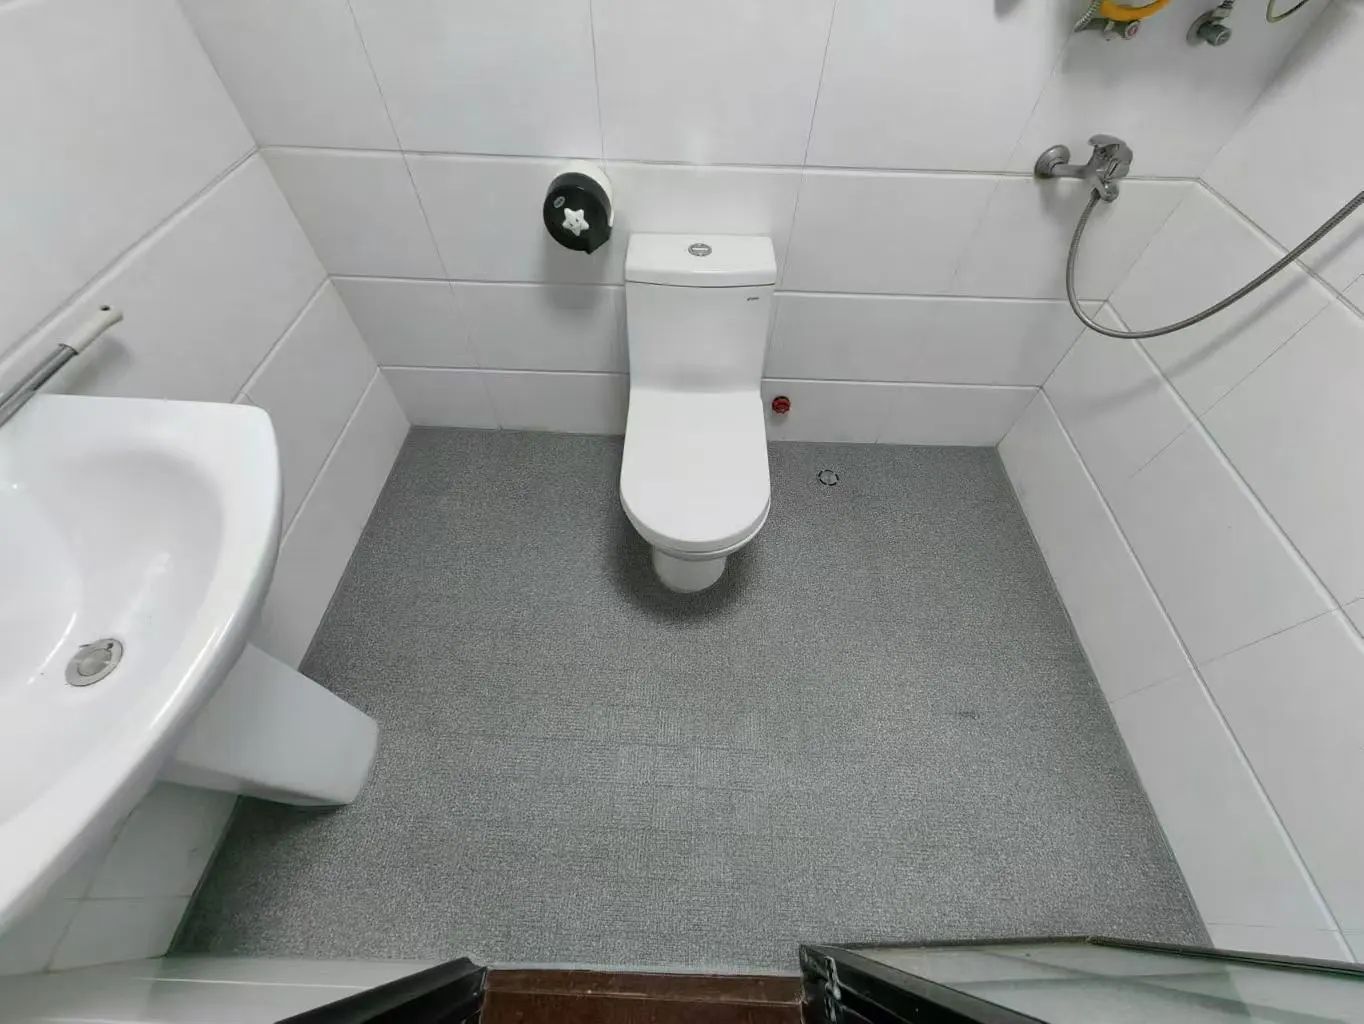
Bathroom Areas:
- Use 2-component adhesive (ratio 5:1)
- Mix thoroughly before application
- Working time: ~20 minutes
- Wait 40–60 minutes before installation (longer for non-porous surfaces)
- Apply adhesive to full floor + drain area
Step 9 – Precision Cutting (Bathroom Focus)
- Leave 3mm gap around drain
- Seal with adhesive
- Leave 3mm gap along wall edges
- Toilet can remain installed and cut around edges
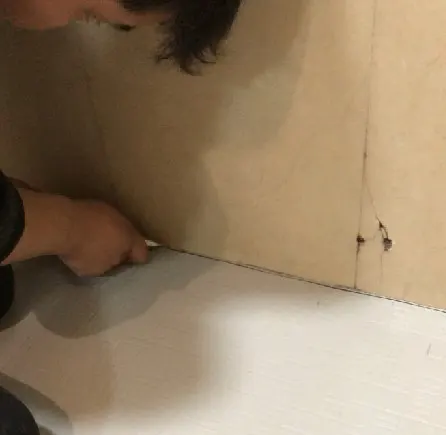
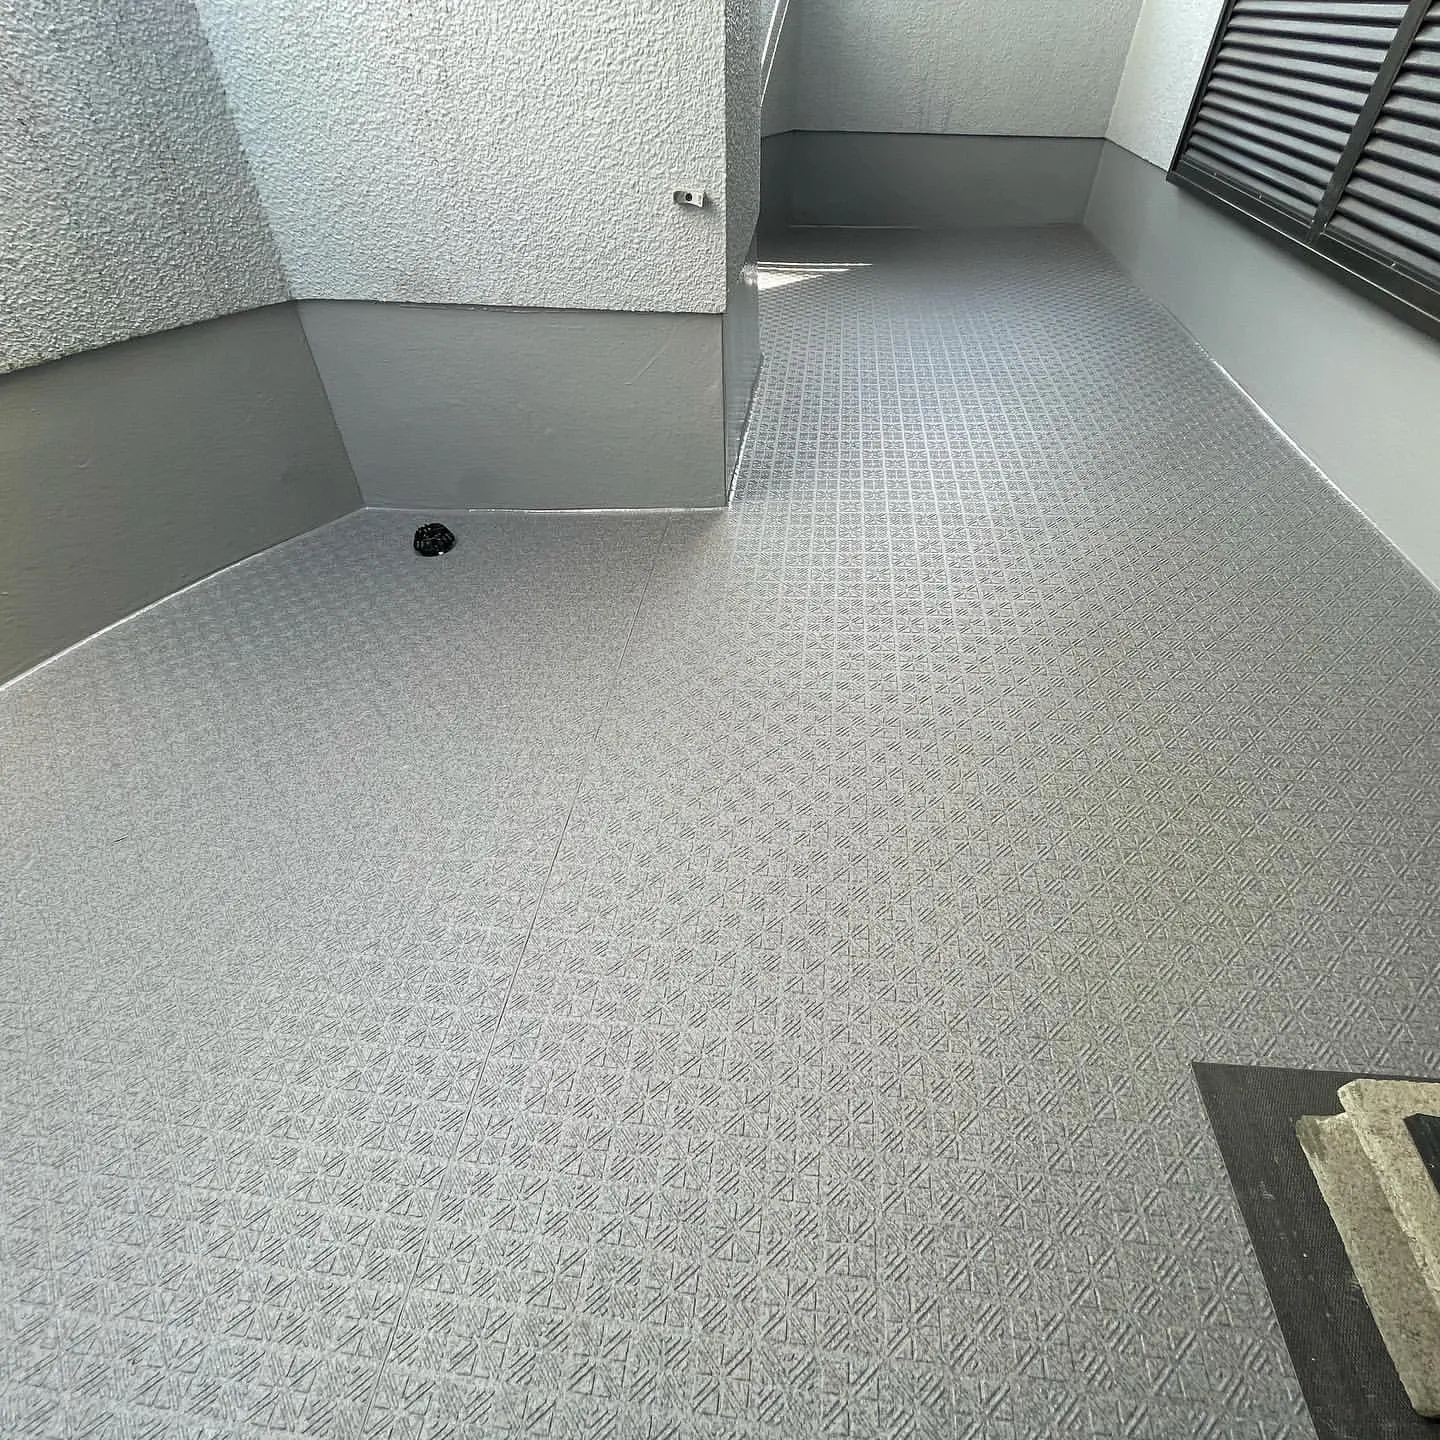
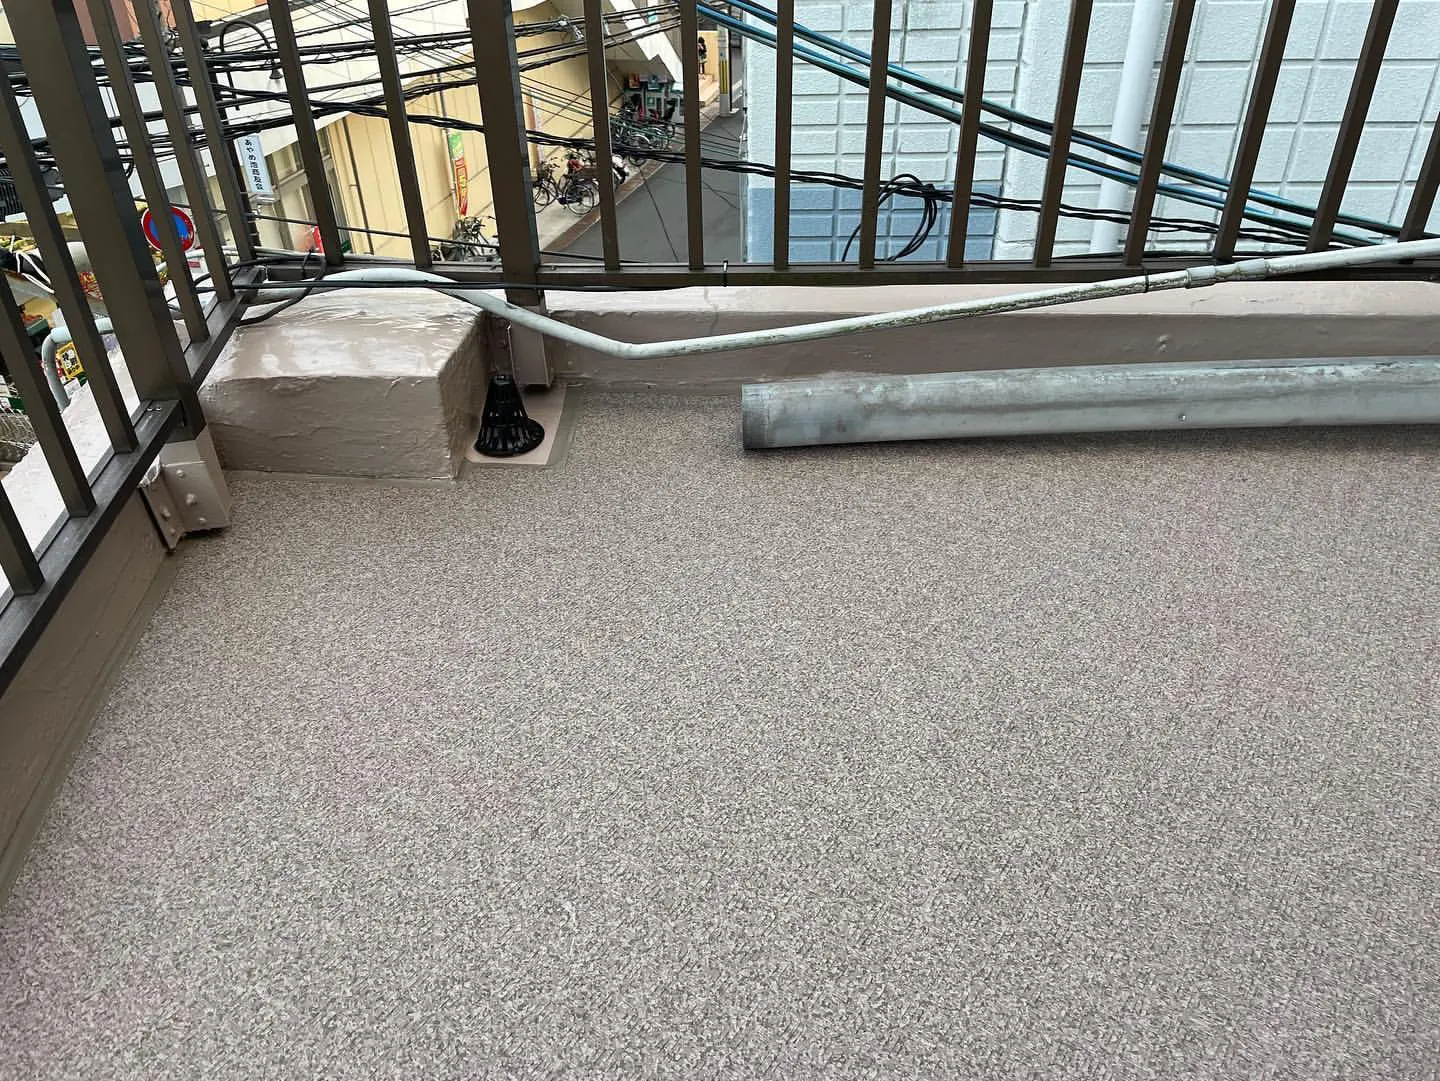
Step 10 – Wall Upturn (10cm Installation)
- Fold vinyl sheet upward along wall
- Secure top edge with trim profile
- Press corners tightly (internal & external corners)
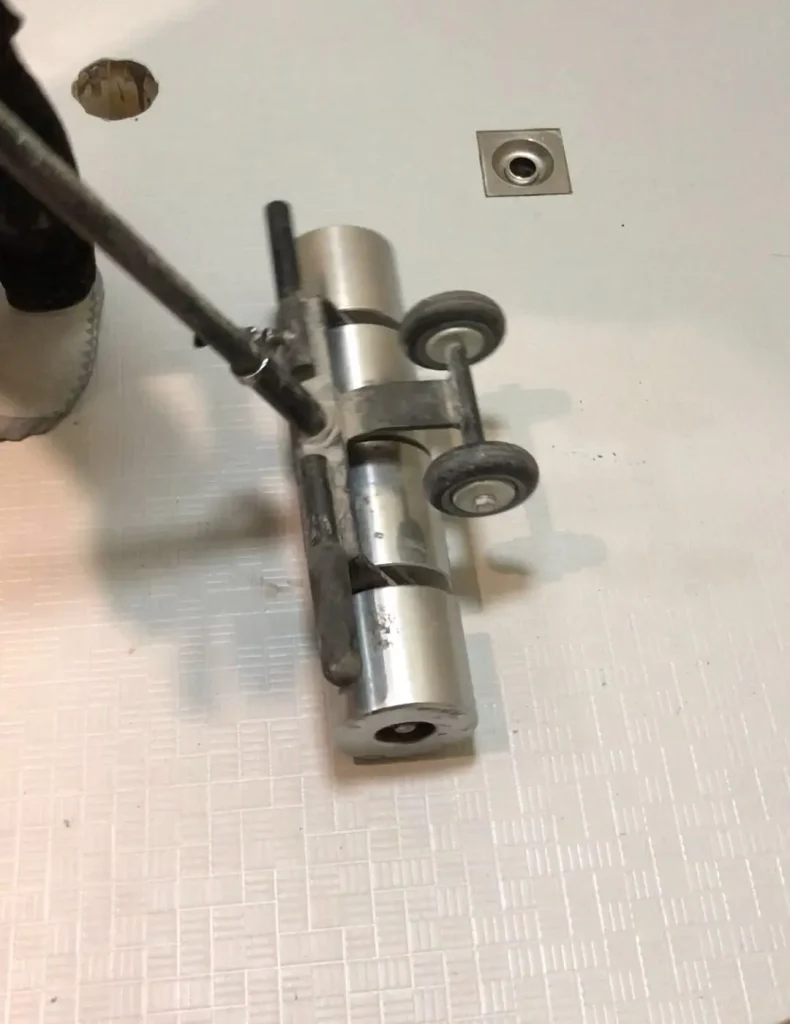
Step 11 – Seam Welding and Sealing
- After 24 hours, groove seams
- Use hot air welding gun + color welding rods
- Trim excess material after cooling
Bathroom sealing:
- Apply anti-mold silicone at:
- wall base
- drain
- toilet base
- pipe junctions
Two options for top edge:
- aluminum L-trim
- color-matched sealant


Step 12 – Curing and Cleaning
- No walking, water exposure, or heavy load for 24–48h
- Bathrooms: recommended 48h before use
- Clean using neutral detergent only
- Reinstall fixtures after curing
- Remove protective films