Vinyl sheet flooring can be installed by experienced DIY homeowners or professional installers. However, successful installation depends less on laying the flooring itself and more on proper subfloor preparation, accurate measuring, and careful adhesive application.
If the subfloor is clean, dry, level, and structurally sound, installing vinyl sheet flooring is a relatively straightforward project. Skipping preparation, using the wrong adhesive, or ignoring acclimation can lead to bubbles, loose edges, visible imperfections, or premature failure.
This guide walks you through every stage of the installation process—from planning and subfloor preparation to cutting, fitting, adhesive application, finishing, and post-installation care—while highlighting the most common mistakes to avoid.
Project Overview
Before starting your installation, it’s helpful to understand the overall scope of the project.
| Project Information | Details |
|---|---|
| Skill Level | Intermediate |
| Installation Time | 1–2 days (depending on room size) |
| Drying Time | 24–48 hours before normal use |
| Flooring Type | Vinyl Sheet Flooring |
| Suitable Areas | Kitchens, bathrooms, laundry rooms, bedrooms, living rooms, healthcare facilities, retail spaces, offices |
| Installation Method | Full spread adhesive or loose lay (depending on product specifications) |
Can You Install Vinyl Sheet Flooring Yourself?
Many homeowners assume vinyl sheet flooring is difficult to install because it comes in large continuous rolls. In reality, the installation process is manageable for experienced DIY users working in simple, square rooms with minimal obstacles.
However, installation becomes significantly more challenging when the project involves:
- Multiple seams
- Complex room layouts
- Curved walls
- Toilets and plumbing fixtures
- Commercial spaces
- Flash coving or wall upturns
- Welded seams
- Large-format installations
If your project includes these conditions, professional installation is generally recommended to achieve the best appearance and long-term performance.
For straightforward residential rooms, careful planning and patience are often more important than specialized skills.
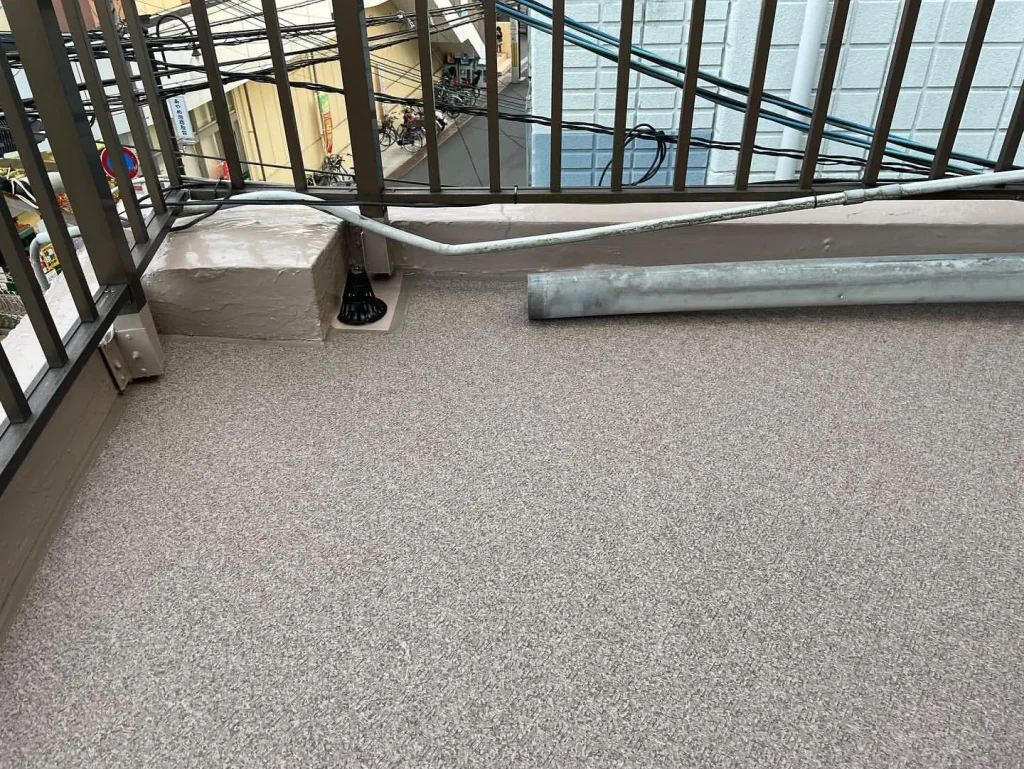
Tools and Materials You’ll Need
Having all necessary tools ready before installation helps prevent delays and improves installation quality.
Essential Tools
- Tape measure
- Utility knife with sharp replacement blades
- Straight edge or metal ruler
- Carpenter’s square
- Chalk line
- Pencil or marker
- Floor roller (recommended)
- Hand roller for edges
- Notched trowel (if adhesive installation is required)
- Seam roller
- Moisture meter (recommended for concrete subfloors)
Materials
- Vinyl sheet flooring
- Recommended adhesive (if required)
- Primer (when specified)
- Floor leveling compound
- Underlayment (if recommended by the manufacturer)
- Cleaning cloth
- Vacuum cleaner
- Masking tape
Before You Start: Installation Checklist
Many installation failures happen before the flooring is even unrolled.
Use this checklist before beginning the project.
- The room temperature is within the manufacturer’s recommended range.
- The flooring has acclimated according to the manufacturer’s instructions.
- The subfloor is completely dry.
- The surface is clean and free of dust, grease, wax, or paint.
- The floor is level with no major cracks or depressions.
- All repairs have fully cured.
- Adhesive and installation tools are prepared.
- The room has been measured accurately.
- Door clearances have been checked.
- Cabinets and fixed furniture have been considered during layout planning.
Completing these steps greatly reduces the risk of installation problems later.
Step 1: Prepare the Subfloor
Subfloor preparation is the single most important factor affecting the appearance and lifespan of vinyl sheet flooring.
Even premium flooring cannot hide defects in an improperly prepared subfloor.
The Surface Should Be
- Clean
- Dry
- Flat
- Smooth
- Structurally sound
Dust, debris, loose particles, grease, old adhesive residue, or moisture can all prevent proper bonding.
If the floor has holes, cracks, or uneven areas, repair them with a suitable leveling compound before installation.
Why It Matters
Vinyl sheet flooring is flexible enough that imperfections underneath can eventually become visible on the surface—a phenomenon commonly known as telegraphing. Small bumps, screw heads, grout lines, or damaged concrete may appear through the finished floor over time if they are not corrected beforehand.
Spending extra time preparing the subfloor usually has a greater impact on the final result than the installation itself.
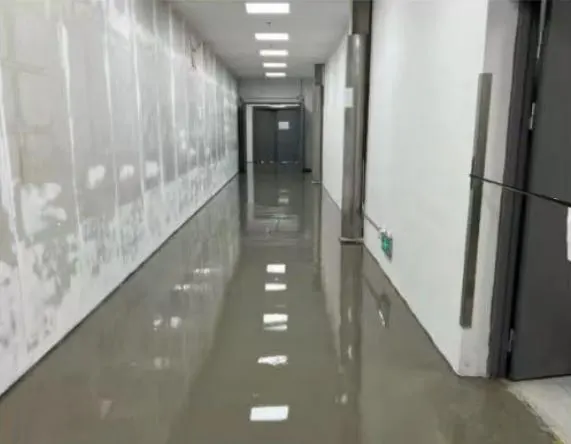
Step 2: Measure the Room Carefully
Accurate measurement helps reduce waste and ensures the flooring fits properly.
Measure the room at its longest and widest points.
Always include:
- Door recesses
- Closets
- Alcoves
- Bay windows
- Built-in cabinets
Most installers recommend leaving a small trimming allowance around the perimeter before making final cuts.
For larger rooms or irregular layouts, creating a paper template can help improve cutting accuracy.
Step 3: Acclimate the Flooring
Before installation, allow the vinyl sheet flooring to acclimate in the installation room according to the manufacturer’s recommendations.
Acclimation allows the material to adjust to the room’s temperature and humidity, helping reduce dimensional changes after installation.
Store the flooring flat whenever possible and avoid placing heavy objects on top of the roll during this period.
Skipping acclimation may increase the risk of shrinkage or installation issues after the floor is laid.
Step 4: Dry Fit the Flooring
Before applying any adhesive, position the vinyl sheet flooring inside the room and check the fit.
During this stage:
- Align the flooring pattern.
- Verify wall clearances.
- Confirm doorway alignment.
- Ensure seams are positioned correctly (if applicable).
- Check that obstacles such as pipes and cabinets have been considered.
Making adjustments now is much easier than after adhesive has been applied.
For patterned flooring, take extra care to ensure the design is visually balanced within the room.
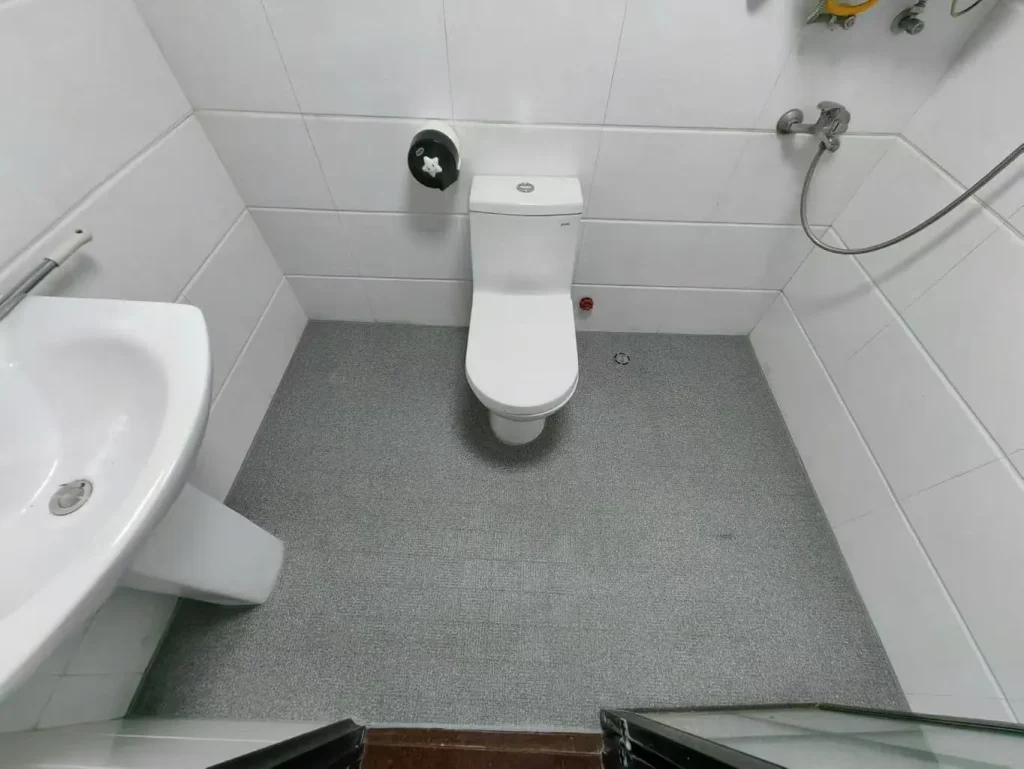
Step 5: Cut the Flooring to Size
Once the flooring has been positioned correctly, begin trimming around the perimeter.
Use a sharp utility knife and a straight edge to achieve clean, accurate cuts.
When cutting around:
- Door frames
- Pipe penetrations
- Corners
- Cabinets
- Toilet flanges
work slowly and make several light cuts instead of one deep cut. This reduces the risk of tearing the material or cutting beyond the required line.
Avoid trimming the material too tightly. Small expansion allowances should follow the manufacturer’s installation recommendations.
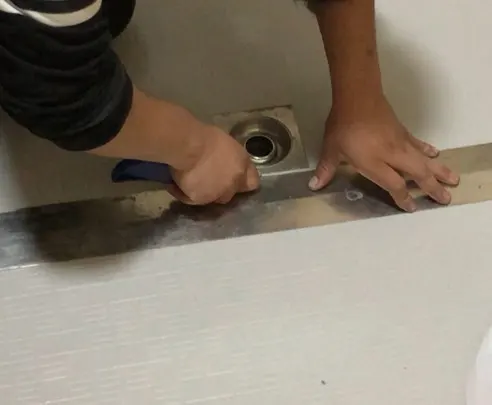
Step 6: Apply the Adhesive (If Required)
Not all vinyl sheet flooring requires full-spread adhesive. Always follow the installation method specified by the flooring manufacturer.
For adhesive installations:
- Fold back half of the flooring.
- Apply the adhesive evenly using the recommended notched trowel.
- Work in manageable sections.
- Avoid leaving excessive adhesive buildup.
- Follow the adhesive’s recommended open time before laying the flooring.
Uneven adhesive application can result in poor bonding, bubbles, or visible surface irregularities.
Taking your time during this step significantly improves the final appearance.
Step 7: Lay the Flooring
Carefully lower the flooring into the adhesive, starting from one side and gradually working across the room.
Avoid dropping the sheet into place all at once.
Instead, gently press the flooring while smoothing it outward to eliminate trapped air.
Pay particular attention to:
- Corners
- Doorways
- Edges
- Seams
- Areas around fixtures
Working slowly helps minimize wrinkles and alignment issues.
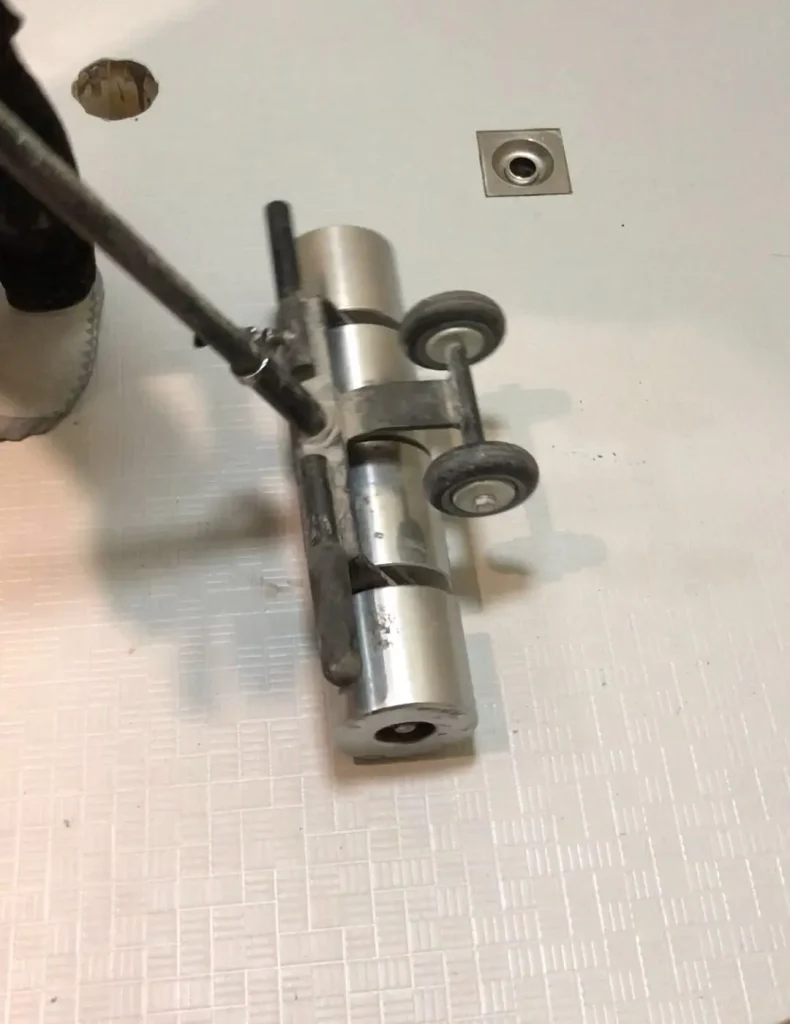
Step 8: Roll the Floor
Rolling the floor is one of the most overlooked steps, yet it plays a critical role in achieving a durable installation.
Using a floor roller helps:
- Remove trapped air
- Improve adhesive transfer
- Strengthen bonding
- Create a smooth finished surface
For edges and tight spaces, use a hand roller to ensure complete contact with the adhesive.
Skipping this step can increase the likelihood of bubbles or loose areas developing later.
Step 9: Finish the Seams
If your installation requires more than one sheet of vinyl flooring, properly finishing the seams is essential for both appearance and long-term durability.
Before bonding the sheets permanently, align the pattern carefully to ensure a seamless visual transition. Even a slight misalignment can become noticeable after installation.
Depending on the flooring product and installation requirements, seams may be:
- Double-cut and bonded with adhesive
- Cold welded
- Heat welded (commonly used in commercial and healthcare environments)
After joining the seams, use a seam roller to apply even pressure along the joint. This helps improve adhesive contact and creates a cleaner finish.
For residential installations without welded seams, avoid placing heavy furniture directly over newly bonded seams until the adhesive has fully cured.
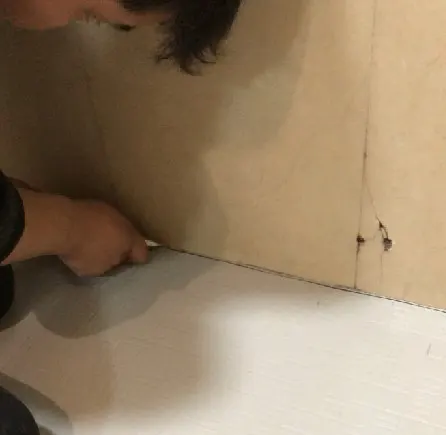
Step 10: Trim the Edges and Complete the Installation
Once the flooring is securely bonded, trim any excess material along the walls using a sharp utility knife.
Reinstall:
- Baseboards
- Quarter-round molding
- Door thresholds
- Transition strips
Avoid forcing trim pieces tightly against the flooring, as excessive pressure may affect the finished appearance.
Inspect the entire floor one final time to ensure:
- No trapped air remains.
- Seams are secure.
- Edges are fully bonded.
- The surface is clean and free of adhesive residue.
At this stage, the installation is complete, but the adhesive may still require additional curing time before the floor reaches full strength.
Installing Vinyl Sheet Flooring on Different Subfloors
One of the most common questions homeowners ask is whether vinyl sheet flooring can be installed over different types of existing floors.
The answer depends on the condition of the subfloor rather than the material itself.
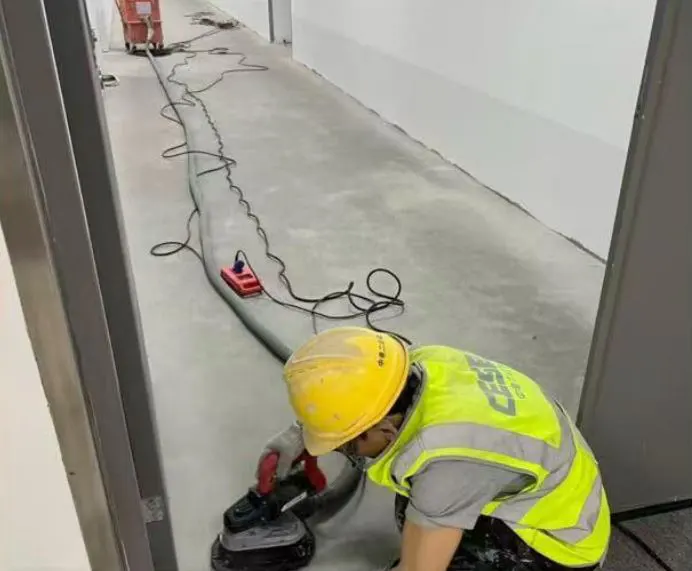
Installing on Concrete
Concrete is one of the most common subfloors for vinyl sheet flooring, but it also presents the greatest moisture-related risks.
Before installation:
- Check that the concrete is fully cured.
- Test the moisture level using an appropriate moisture meter.
- Repair cracks or damaged areas.
- Fill low spots with a leveling compound.
- Remove dust and construction debris completely.
Concrete that appears dry on the surface may still contain excessive moisture underneath, which can weaken adhesive bonding over time.
Best Practice: Never install vinyl sheet flooring on concrete that has not met the manufacturer’s moisture requirements.
Installing on Plywood
Plywood provides an excellent base when it is structurally sound and properly prepared.
Before installation:
- Secure all loose panels.
- Sand uneven joints.
- Countersink exposed fasteners.
- Fill gaps and imperfections.
- Remove sanding dust thoroughly.
A smooth plywood surface helps prevent visible imperfections from showing through the finished flooring.
Installing Over Existing Ceramic Tiles
Many homeowners choose vinyl sheet flooring specifically because it can often be installed over existing ceramic tiles, reducing demolition work.
However, the existing tile floor should meet several conditions:
- Tiles must be firmly bonded.
- No loose or hollow tiles.
- Grout joints should be levelled if they are deep.
- Cracked tiles should be repaired.
- The surface must be clean and dry.
If grout lines are too deep, they may become visible through the vinyl over time. Applying a suitable embossing leveler can help create a smoother surface before installation.
Installing Over Existing Vinyl Flooring
In some cases, vinyl sheet flooring can be installed over an existing vinyl floor.
However, the existing flooring must:
- Be securely bonded.
- Show no signs of curling.
- Have no moisture damage.
- Be clean and free of wax or polish.
- Remain structurally stable.
Multiple layers of resilient flooring may not be recommended by all manufacturers, so always follow the installation guidelines for your specific product.
10 Common Vinyl Sheet Flooring Installation Mistakes
Even experienced installers can encounter problems if important preparation steps are overlooked.
Understanding these common mistakes can help you avoid costly repairs later.
1. Skipping Subfloor Preparation
A dirty, uneven, or damaged subfloor is one of the leading causes of installation failure.
Remember: the finished floor can only perform as well as the surface beneath it.
2. Ignoring Moisture Testing
Moisture trapped beneath the flooring may cause adhesive failure, mold growth, or bubbling over time.
Testing moisture is especially important for concrete subfloors and ground-level installations.
3. Not Allowing the Flooring to Acclimate
Installing flooring immediately after delivery may result in slight expansion or shrinkage as the material adjusts to room conditions.
Following the manufacturer’s acclimation recommendations helps minimize this risk.
4. Using the Wrong Adhesive
Different vinyl sheet flooring products may require different adhesive systems.
Using an incompatible adhesive can reduce bond strength and shorten the life of the floor.
5. Applying Too Much or Too Little Adhesive
Excess adhesive may squeeze through seams, while insufficient adhesive can lead to loose areas or lifting edges.
Always use the trowel size recommended by the adhesive manufacturer.
6. Trapping Air Bubbles
Air pockets left beneath the flooring can become visible after installation.
Using a floor roller and working gradually from the center outward helps remove trapped air.
7. Cutting Too Much Material
Removing too much flooring during trimming can create visible gaps around walls, cabinets, or door frames.
Measure carefully and trim gradually.
8. Walking on the Floor Too Soon
Fresh adhesive requires time to develop full strength.
Avoid heavy foot traffic until the recommended curing period has passed.
9. Moving Heavy Furniture Immediately
Heavy furniture may shift the flooring before the adhesive has fully cured.
Whenever possible, wait until the manufacturer recommends placing heavy loads on the floor.
10. Skipping the Final Inspection
Before considering the project complete, inspect:
- Seams
- Corners
- Edges
- Surface smoothness
- Adhesive residue
Correcting small issues immediately is much easier than repairing them later.
After Installation Care
Proper care immediately after installation plays an important role in ensuring long-term performance.
When Can You Walk on the Floor?
Light foot traffic is often possible after the adhesive has set sufficiently, but always follow the adhesive manufacturer’s recommended waiting time.
When Can Furniture Be Moved Back?
Heavy furniture should only be returned after the adhesive has fully cured. Using furniture pads can help prevent surface damage during placement.
When Can the Floor Be Cleaned?
Avoid wet cleaning immediately after installation. Once the adhesive has fully cured, clean the floor using products recommended for resilient flooring.
Ongoing Maintenance Tips
- Sweep or vacuum regularly.
- Wipe spills promptly.
- Use protective pads under furniture.
- Avoid dragging heavy objects across the floor.
- Place mats at entrances to reduce dirt and grit.
Routine maintenance helps preserve the floor’s appearance and extend its service life.
DIY Installation or Hire a Professional?
The right choice depends on the complexity of your project.
| DIY Installation | Professional Installation |
|---|---|
| Small, square rooms | Large commercial projects |
| Minimal obstacles | Complex room layouts |
| No seams required | Multiple seam installations |
| Existing smooth subfloor | Extensive subfloor repairs |
| Basic renovation projects | Hospitals, schools, healthcare facilities |
| Experienced DIY homeowner | Projects requiring heat-welded seams |
If you’re unsure whether your project is suitable for DIY installation, consulting a flooring professional before purchasing materials can help prevent expensive mistakes.





FAQs
Yes. As long as the tile floor is stable, clean, dry, and reasonably level, vinyl sheet flooring can often be installed over it. Deep grout lines or damaged tiles should be repaired first.
It depends on the flooring product and the condition of the subfloor. Some installations require an underlayment, while others are designed to be installed directly over a properly prepared subfloor. Always follow the manufacturer’s recommendations.
High-quality vinyl sheet flooring typically lasts 10–20 years or longer, depending on product quality, installation, traffic levels, and maintenance.
Yes. Vinyl sheet flooring is a popular choice for bathrooms because it is water-resistant and easy to maintain. Proper sealing around fixtures and edges is essential to prevent moisture from reaching the subfloor.
Bubbles are often caused by trapped air, improper adhesive application, moisture beneath the flooring, or inadequate rolling during installation.
Yes. Concrete is a common subfloor for vinyl sheet flooring, but it must be fully cured, dry, clean, and level before installation.
Yes. Commercial-grade vinyl sheet flooring is widely used in hospitals, schools, offices, retail stores, and healthcare facilities because it provides excellent durability, hygiene, and ease of maintenance.
Final Thoughts
Installing vinyl sheet flooring is more than simply laying a new floor—it’s a process that begins with careful preparation and ends with proper finishing and maintenance.
While the installation itself is relatively straightforward, the quality of the finished result depends on attention to detail at every stage, from evaluating the subfloor and selecting the right installation method to applying adhesive correctly and allowing adequate curing time.
Whether you’re completing a home renovation or planning a commercial flooring project, following the manufacturer’s installation guidelines and investing time in proper preparation will help ensure a durable, professional-looking floor that performs well for years to come.
Planning a vinyl sheet flooring project? Email timmy.wu@timotechs.com flooring specialists today for expert product recommendations and installation guidance tailored to your application.