Slat wall panels have become a popular choice for modern interiors thanks to their clean lines, textured appearance, and ability to add warmth and depth to a space. Whether you’re updating a living room, bedroom, office, retail store, or commercial interior, slat wall panels can transform a plain wall into a striking design feature.
The good news is that installing slat wall panels is generally straightforward when the wall is properly prepared and the correct installation method is used.
This guide walks through the entire process, from planning and measuring to cutting, fixing, and finishing, helping you achieve a professional-looking result while avoiding common installation mistakes.
What You’ll Need Before Installing Slat Wall Panels
Before starting, gather all tools and materials to avoid interruptions during installation.
Tools
- Tape measure
- Spirit level or laser level
- Pencil
- Circular saw, miter saw, or fine-tooth handsaw
- Drill and drill bits
- Screwdriver or impact driver
- Utility knife
- Safety glasses
- Dust mask
- Work gloves
Materials
- Slat wall panels
- Construction adhesive (if adhesive installation is planned)
- Screws or mounting hardware
- Finishing trims
- Joint filler or color-matched sealant if required
Before opening the panels, allow them to acclimate to the room environment according to the manufacturer’s recommendations. This is particularly important in areas with significant temperature or humidity variations.
Preparing the Wall Surface
Proper wall preparation is one of the most important steps in the installation process. Even high-quality panels can look uneven if they are installed on an unsuitable surface.
Suitable Wall Types
Most slat wall panels can be installed on:
- Drywall
- Painted walls
- Plywood
- MDF backing boards
- Concrete walls
- Masonry walls
The wall should be structurally sound and capable of supporting the panel weight.
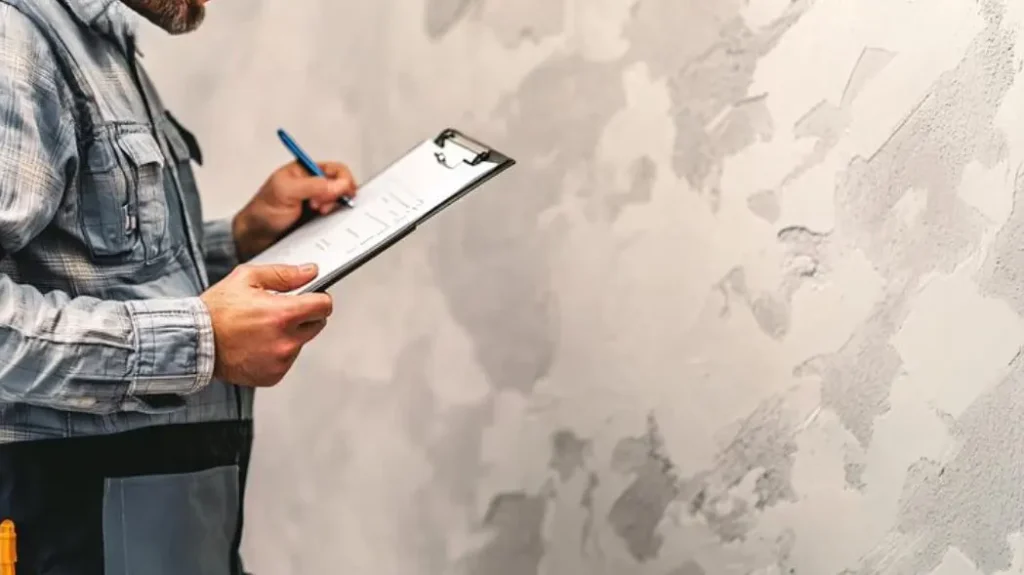
Check for Surface Flatness
Use a straight edge or level to inspect the wall.
Minor imperfections can usually be hidden by the panel system, but significant unevenness should be corrected before installation. Installing panels over an uneven wall may result in visible gaps, misalignment, or poor adhesion.
Clean the Surface
Remove:
- Dust
- Loose paint
- Grease
- Moisture
- Debris
A clean surface helps adhesives bond correctly and ensures a more secure installation.
Measure and Plan the Layout Before Installation
Many installation problems occur because panels are cut before the layout is planned.
Taking time to plan the wall can improve the final appearance significantly.
Measure the Wall
Record:
- Wall width
- Wall height
- Location of outlets
- Switch positions
- Windows and doors
- Internal and external corners
Double-check all measurements before cutting any panels.
Decide on Panel Orientation
Most slat wall panels are installed vertically because this creates a taller visual effect and follows the design intent of many panel systems.
However, horizontal installation may be preferred when:
- Making a narrow room appear wider
- Creating a feature wall
- Matching a specific interior design concept
Plan Panel Placement
Before installation, determine:
- Where the first panel will start
- Where the final panel will finish
- Whether any panels will require trimming
A balanced layout often produces a more professional result than simply starting from one corner and working across the wall.
Step 1: Mark Your Starting Line
The first panel establishes the alignment for the entire wall.
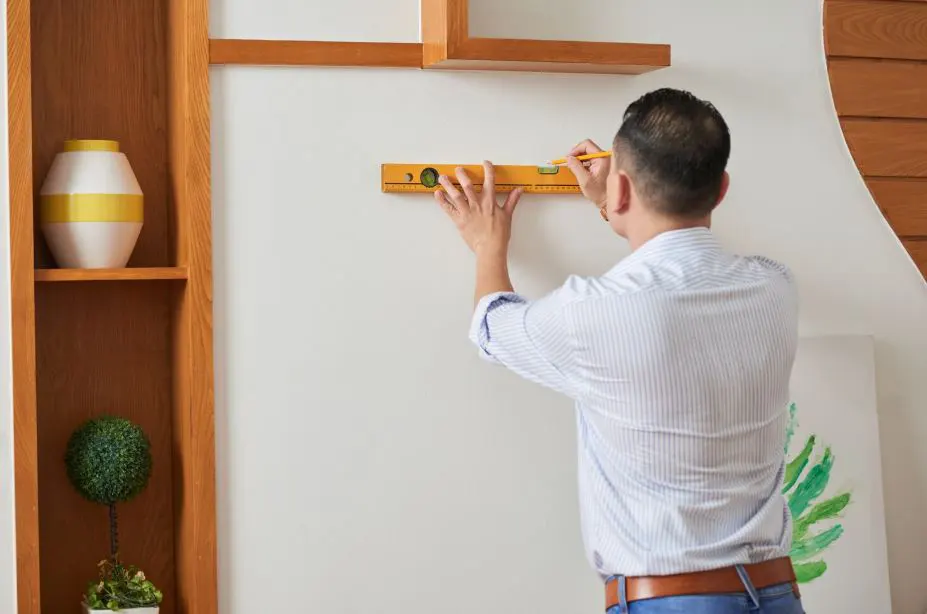
Use a spirit level or laser level to draw a perfectly vertical reference line.
Do not rely on corners being perfectly straight. In many buildings, walls and corners are not completely square.
Using a reference line ensures the panel installation remains straight even if the surrounding structure is slightly uneven.
Step 2: Cut the Panels to Size
Once the layout has been confirmed, panels can be cut to the required dimensions.

Measure Carefully
A common installation mistake is cutting multiple panels based on a single measurement.
Instead:
- Measure each section individually
- Verify dimensions before cutting
- Account for trims and expansion allowances where required
Cutting Tips
For the cleanest edge:
- Use a fine-tooth blade
- Cut from the correct face according to manufacturer recommendations
- Support the panel during cutting to prevent chipping
Always wear eye protection when cutting panels.
Step 3: Choose Your Installation Method
Most slat wall panels are installed using one of two methods:
Option 1: Adhesive Installation
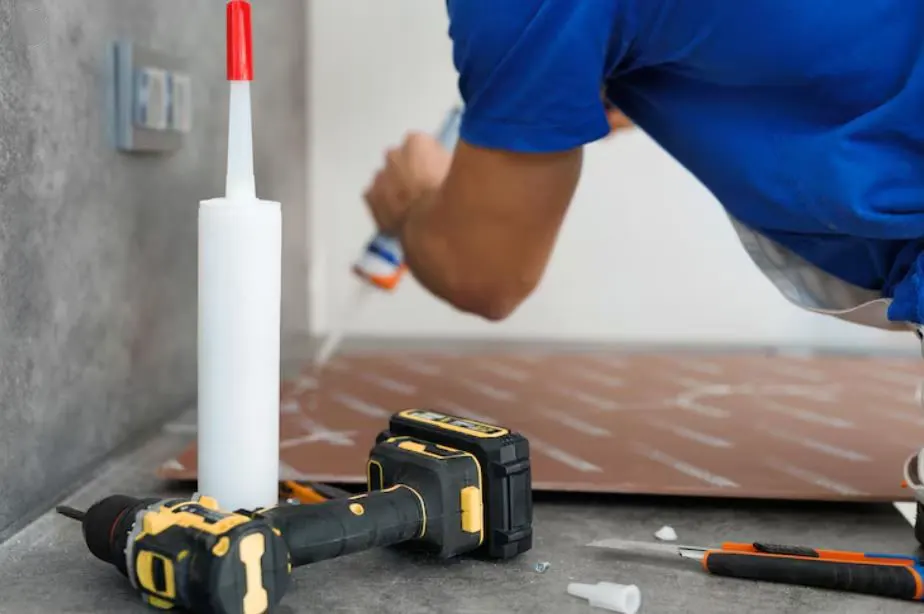
Construction adhesive is commonly used for interior applications where the wall surface is flat and stable.
Advantages
- Faster installation
- No visible fasteners
- Clean appearance
Considerations
- Wall must be flat
- Removal may damage the wall
- Repositioning panels can be difficult once adhesive cures
Apply adhesive according to the manufacturer’s instructions rather than covering the entire back surface.
Option 2: Mechanical Fixing
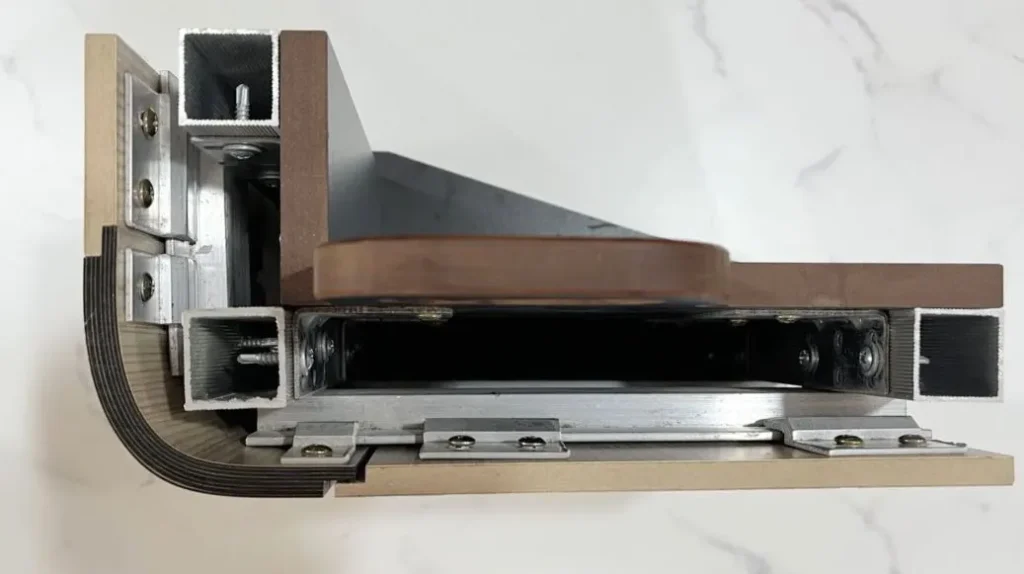
Some projects use screws or hidden fixing systems.
Advantages
- Strong mechanical attachment
- Suitable for heavier panels
- Easier panel replacement in some situations
Considerations
- Requires additional tools
- Installation may take longer
- Fasteners must be concealed properly
For commercial installations and large feature walls, mechanical fixing is often preferred due to its long-term stability.
Step 4: Install the First Panel
Position the first panel against the reference line.
Before permanently fixing it:
- Check vertical alignment
- Confirm panel edges are straight
- Verify the panel sits flush against the wall
Small alignment errors in the first panel become increasingly noticeable as additional panels are installed.
Take extra time during this step to ensure accuracy.
Once satisfied, secure the panel using your chosen fixing method.
Step 5: Continue Installing the Remaining Panels
After the first panel is installed correctly, continue across the wall one panel at a time.
Throughout installation:
- Check alignment regularly
- Confirm panel joints fit properly
- Maintain consistent spacing
- Use a level periodically
Do not assume every panel will automatically remain aligned with the previous one.
Regular checks help prevent cumulative errors that become difficult to correct later.
Step 6: Install Edge Trims and Finishing Pieces
Once all panels have been installed, finish the exposed edges with trims if your panel system includes them.
Edge trims help:
- Create a cleaner appearance
- Protect exposed panel edges
- Cover minor gaps
- Improve the overall finish
Depending on the design, trims may be installed around:
- Ceiling junctions
- Floor transitions
- External corners
- Window and door frames
Take time to align trims carefully, as they are often one of the most visible details in the finished installation.
How to Install Slat Wall Panels Around Outlets, Switches, and Corners
One of the most common concerns during installation is how to work around existing wall features.
Fortunately, with careful measuring and cutting, these areas can be finished neatly.
Around Electrical Outlets and Switches
Before beginning any work around electrical fixtures:
- Turn off power at the circuit breaker
- Verify power is disconnected
Measure the exact location of the outlet or switch and transfer those measurements to the panel.
Using a jigsaw or suitable cutting tool, cut the required opening before mounting the panel.
Test-fit the panel before securing it permanently.
Taking accurate measurements is critical, as even small errors can become noticeable around electrical fixtures.
Installing Around Internal Corners
Internal corners are generally straightforward.
Depending on the panel design, installers may:
- Cut panels to meet precisely at the corner
- Use corner trims
- Slightly overlap panels if recommended by the manufacturer
The goal is to maintain a clean and continuous appearance.
Installing Around External Corners
External corners require greater precision because they remain visible after installation.
Common solutions include:
- Corner trim profiles
- Miter-cut edges
- Manufacturer-specific corner accessories
Choosing the appropriate method depends on the panel system and desired finish.
Common Slat Wall Panel Installation Mistakes to Avoid
Even though slat wall panels are relatively easy to install, several mistakes can affect the final result.
Skipping Wall Preparation
Installing panels on a dirty or uneven surface often leads to poor adhesion, visible gaps, or alignment problems.
Always inspect and prepare the wall before installation.
Starting Without a Layout Plan
Beginning installation without measuring the entire wall can create awkward panel widths at the end of the project.
A few minutes of planning can prevent unnecessary cutting and wasted materials.
Relying on the Corner as a Reference
Many walls are not perfectly square.
Using a level to establish a straight reference line is usually more accurate than following the corner of the room.
Using the Wrong Adhesive
Not all adhesives are suitable for decorative wall panels.
Always verify compatibility with both the panel material and wall surface.
Ignoring Expansion Requirements
Some panel systems may require small expansion gaps depending on environmental conditions and installation location.
Review the manufacturer’s recommendations before installation.
Can You Install Slat Wall Panels Without Screws?
In many residential applications, yes.
Construction adhesive alone may be sufficient when:
- Panels are lightweight
- The wall is flat and structurally sound
- The installation is indoors
- Manufacturer guidelines permit adhesive-only installation
However, screws or mechanical fixing may be recommended when:
- Panels are large or heavy
- The installation is commercial
- The wall surface is uneven
- Long-term durability is a priority
Always follow the installation requirements provided for the specific panel system being used.
How Long Does It Take to Install Slat Wall Panels?
Installation time depends on several factors:
- Wall size
- Number of cuts required
- Installation method
- Experience level
- Obstacles such as outlets and corners
A small feature wall can often be completed relatively quickly, while larger residential or commercial projects require additional planning and installation time.
Proper preparation generally reduces installation time more effectively than trying to work faster during the installation itself.
Slat Wall Panel Applications: Before and After Results
One reason slat wall panels have become so popular is the dramatic visual impact they can create without major renovation work.
Common applications include:
Living Rooms
Slat wall panels can transform a plain television wall or feature wall into a focal point with added depth and texture.

Bedrooms
Many homeowners install slat panels behind the bed to create a decorative headboard wall without extensive construction.

Offices
In office environments, slat wall panels help introduce warmth and visual interest while maintaining a professional appearance.
Retail and Commercial Spaces
Retail stores, restaurants, hotels, and reception areas frequently use slat wall panels to create modern, design-focused interiors.
FAQs About Installing Slat Wall Panels
Yes, in many cases slat wall panels can be installed directly onto drywall, provided the wall is clean, dry, and structurally sound.
Always check the installation recommendations for the specific panel system.
Yes. Although vertical installation is the most common approach, horizontal installation is also possible and may suit certain design styles or room layouts.
Not always. Some systems can be fixed directly to the wall, while others may use battens to create additional depth, improve leveling, or accommodate acoustic requirements.
The best adhesive depends on the panel material and wall substrate.
Always select a high-quality construction adhesive that is compatible with both surfaces and approved by the panel manufacturer.
Yes, but removal difficulty depends on the installation method.
Panels fixed with screws are generally easier to remove than panels installed with permanent construction adhesives.
This depends on the panel material and moisture resistance rating.
Certain WPC and waterproof panel systems are suitable for humid environments, while other products are intended only for dry interior spaces.
Conclusion
Installing slat wall panels is a practical way to enhance both residential and commercial interiors.
The key to achieving a professional finish lies in careful preparation, accurate measurements, proper panel alignment, and selecting the right fixing method for the project.
While the installation process is generally straightforward, attention to detail—especially around corners, outlets, and panel layout—can make a significant difference in the final appearance.
Planning a slat wall panel project? Contact us at timmy.wu@timotechs.com for product recommendations, samples, and project-specific solutions.