Fluted wall panels can be used far beyond a simple feature wall. They can frame a TV, create a bedroom headboard, define an entryway, separate open spaces, add texture to a ceiling, or bring more architectural detail to commercial interiors. The most successful designs depend on more than the panel itself. Wall coverage, groove direction, color, surrounding materials, and lighting all affect the final result.
Why Fluted Wall Panels Work So Well in Interior Design
The defining feature of a fluted wall panel is its repeated grooves or ribs. Unlike a flat wall surface, the profile creates variation in light and shadow, giving the wall a stronger sense of depth.
Vertical fluting can also reinforce the height of a room because the repeated lines naturally draw the eye upward. Meanwhile, the shadows between the ribs change with natural and artificial light, allowing the same wall to look different throughout the day.
This makes fluted panels useful when a room needs texture without adding multiple decorative elements.
However, more texture is not always better. A fluted wall already has a strong visual rhythm, so the surrounding furniture, flooring, lighting, and other wall finishes should support rather than compete with it.
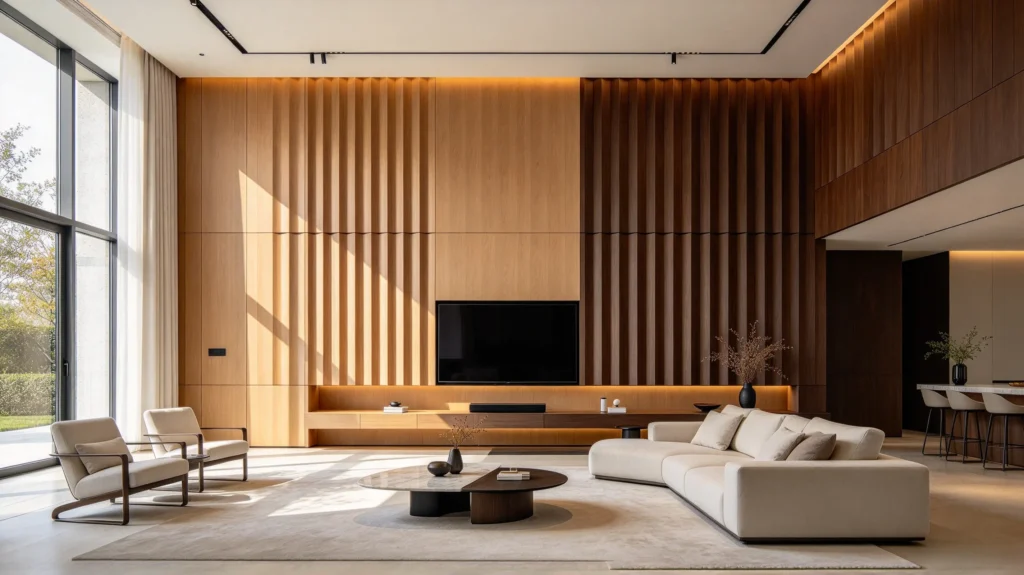
1. Create a Full-Height Living Room Feature Wall
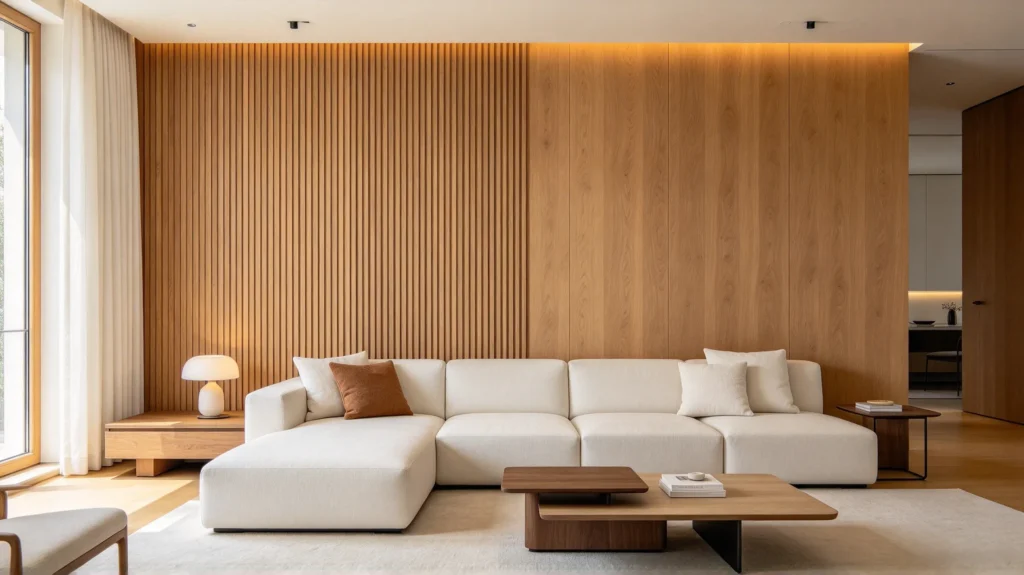
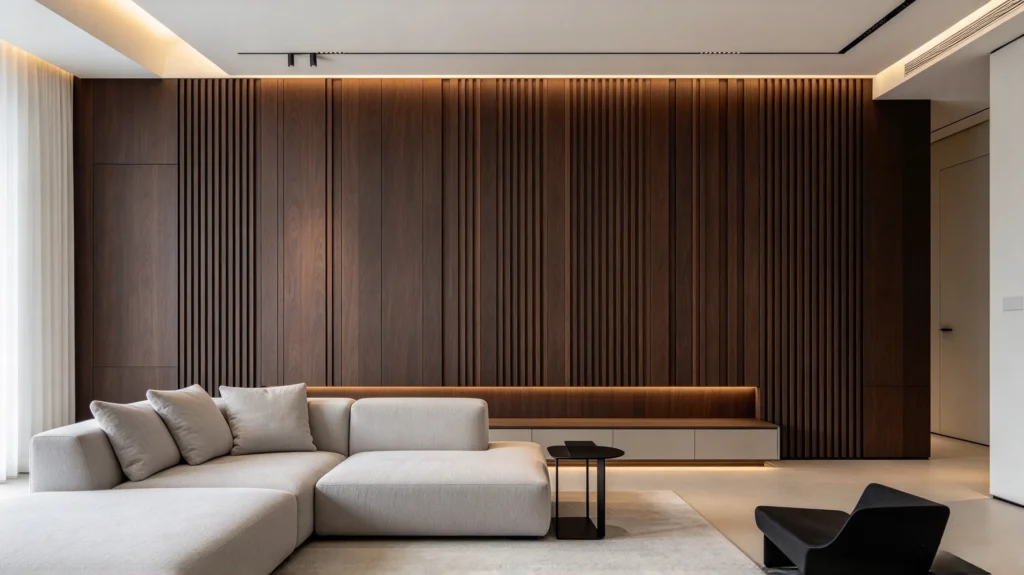
A floor-to-ceiling fluted wall can become the main architectural feature of a living room.
Natural wood-look finishes such as oak or walnut create warmth, while darker finishes produce a stronger contrast. Extending the panels from floor to ceiling also keeps the vertical lines continuous, which can make the wall feel more integrated into the room rather than appearing as a small decorative insert.
For a balanced composition, keep large furniture pieces relatively simple. A sofa, low cabinet, or occasional table can provide contrast without interrupting the texture.
Best suited for: Contemporary, modern, minimalist, and warm modern interiors.
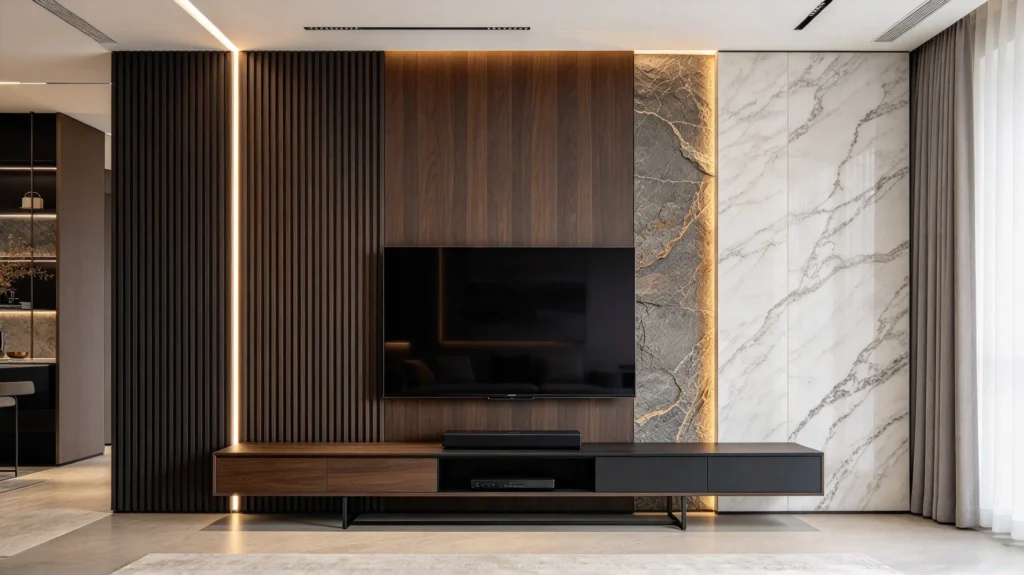
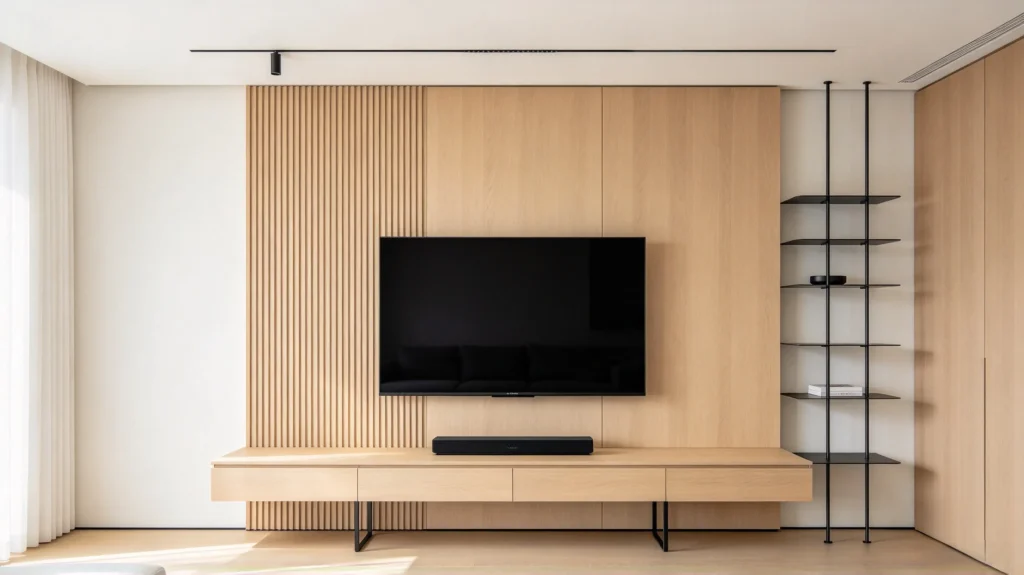
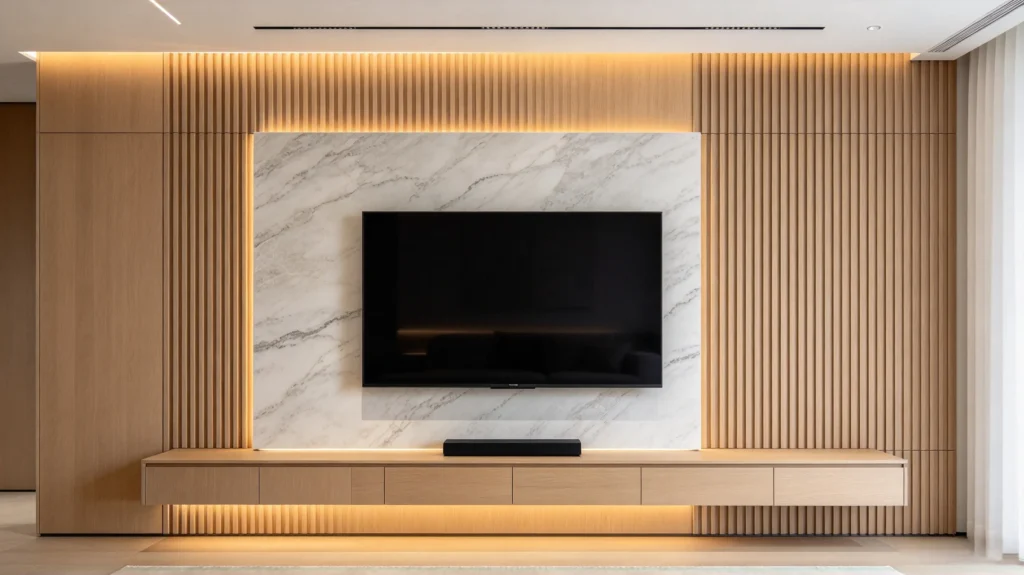
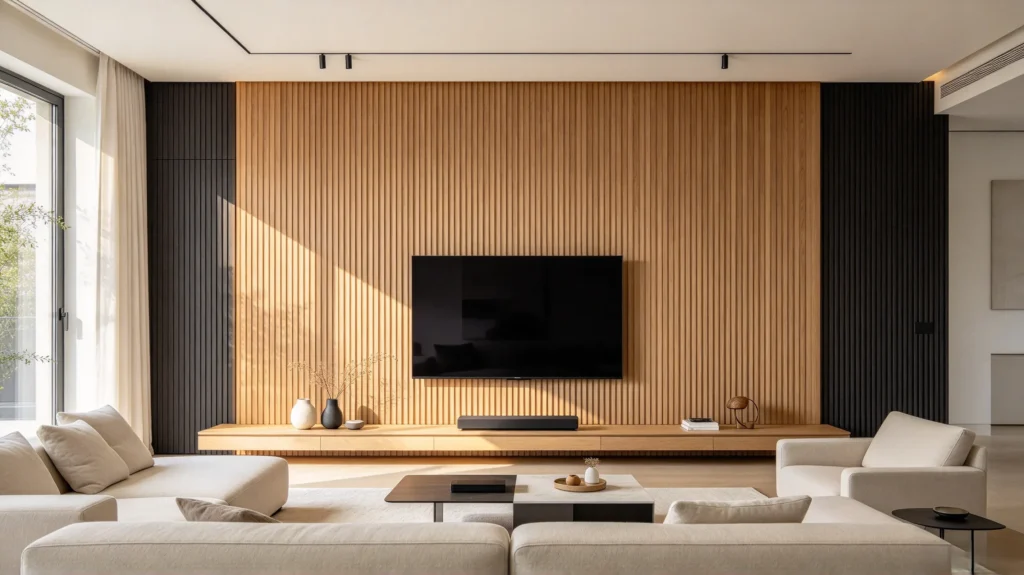
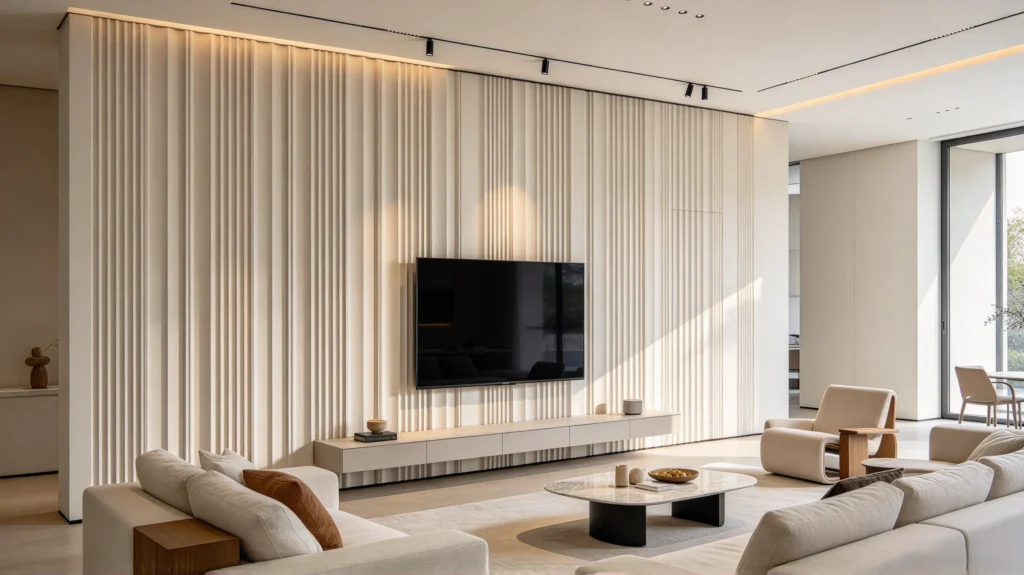
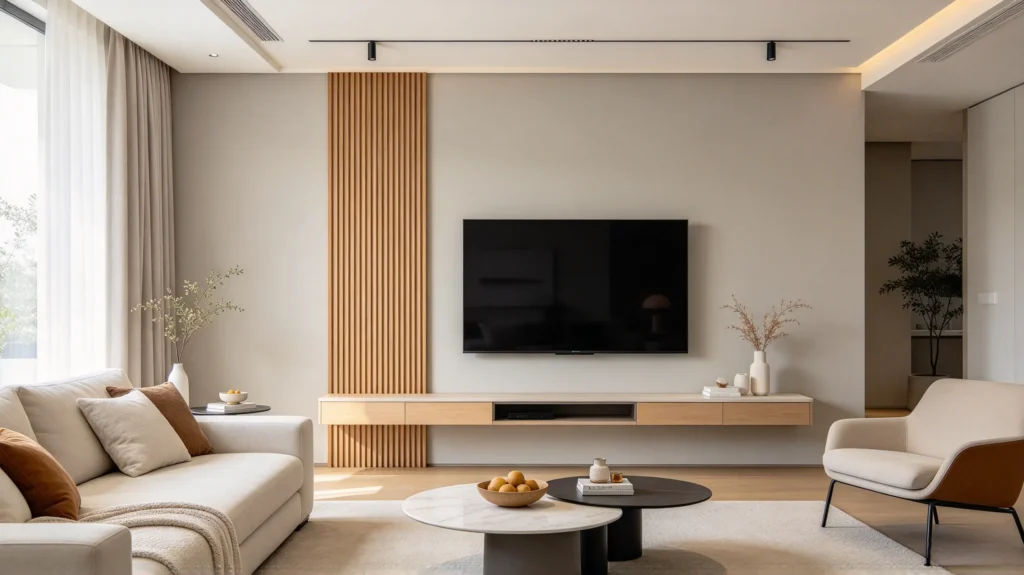
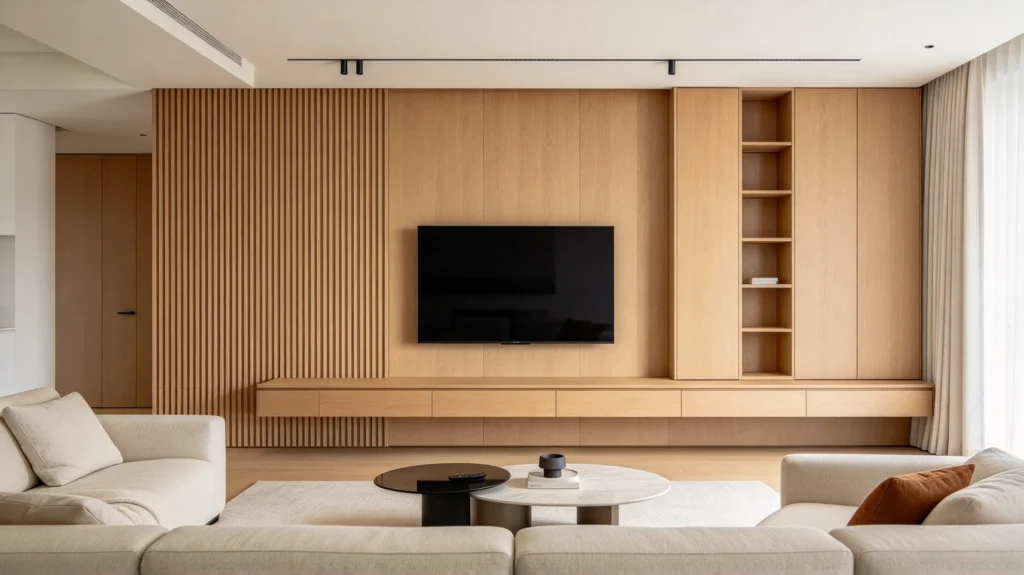
2. Use Fluted Panels Behind the TV
The TV wall is one of the most practical places to introduce fluted texture.
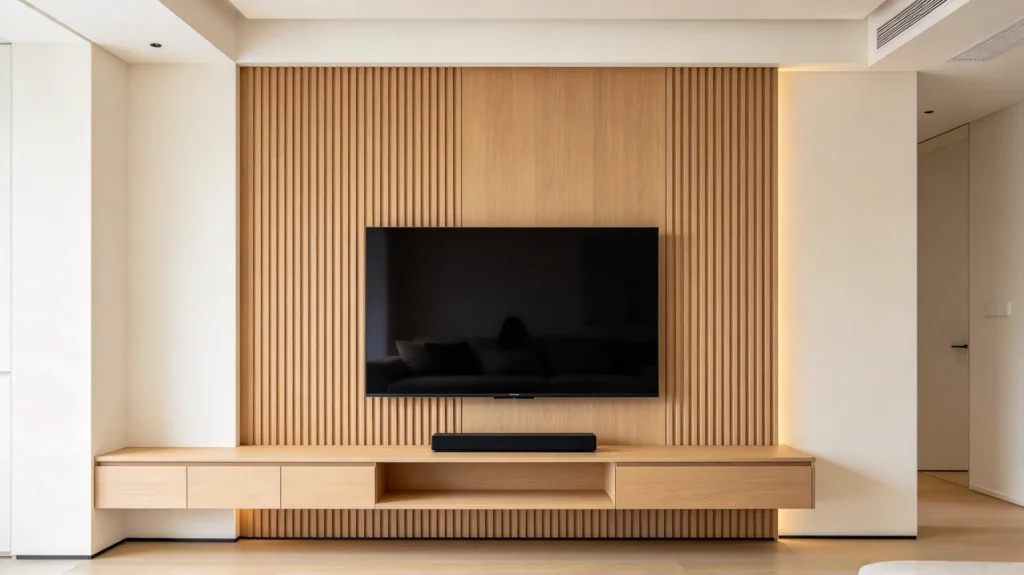
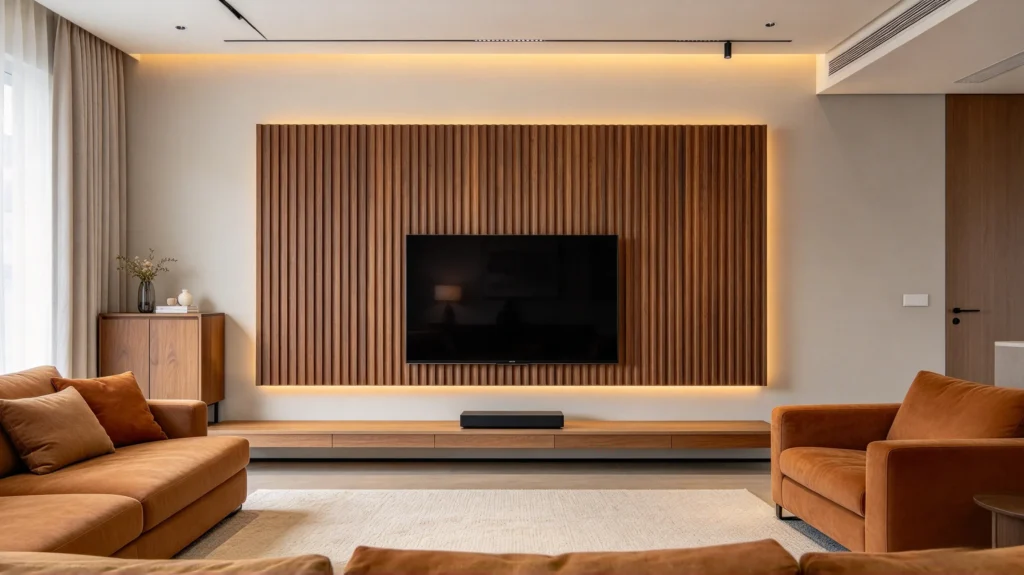
A fluted panel can provide a visual background for the screen while helping integrate the television with the rest of the room. A floating media console works particularly well because keeping the lower part of the wall visually open allows the vertical pattern to remain continuous.
You do not always need to cover the entire wall.
For a smaller room or a more restrained look, use a wider central panelled section behind the TV and leave the surrounding wall painted or finished in a complementary material.
Design combinations to consider
- Natural oak + white or cream walls
- Walnut + warm neutral furniture
- Dark fluted panels + stone or marble
- Light wood + black metal details
- Wood-look panels + floating cabinet
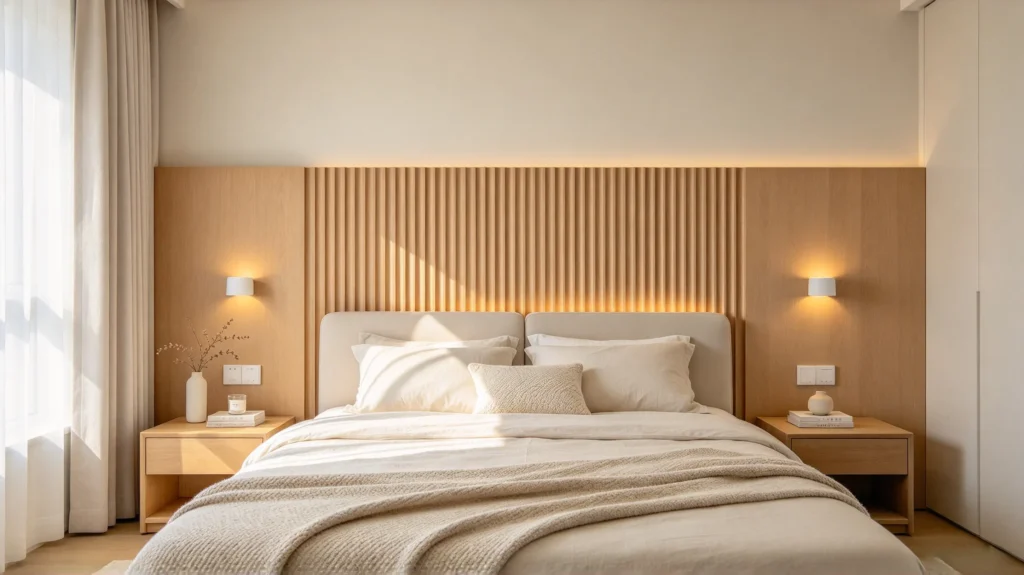
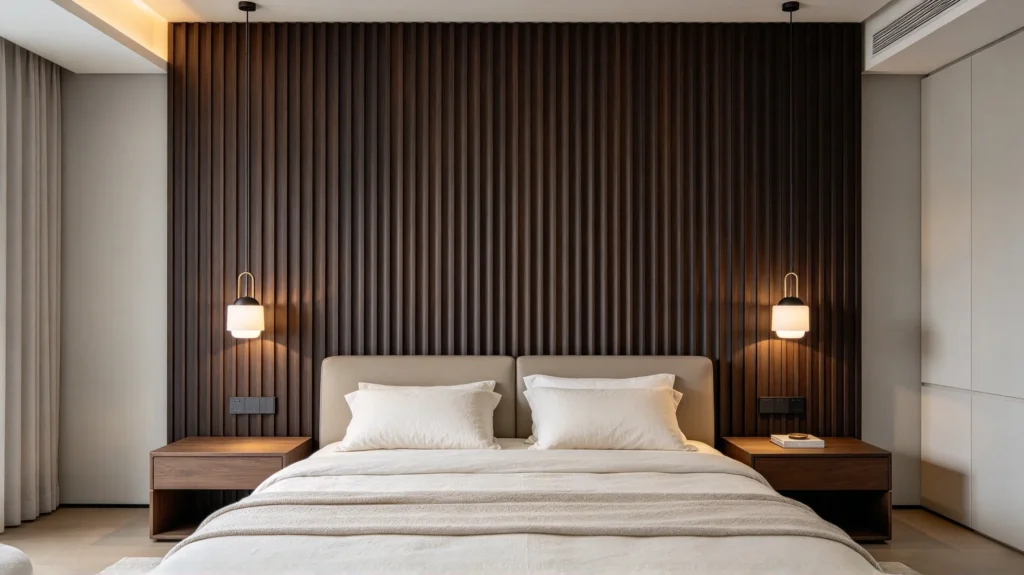
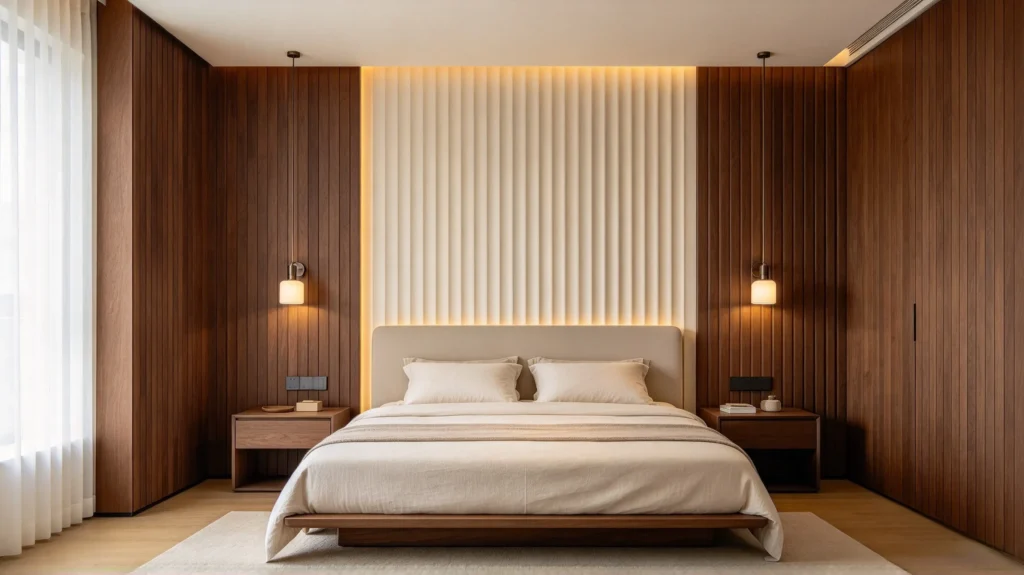
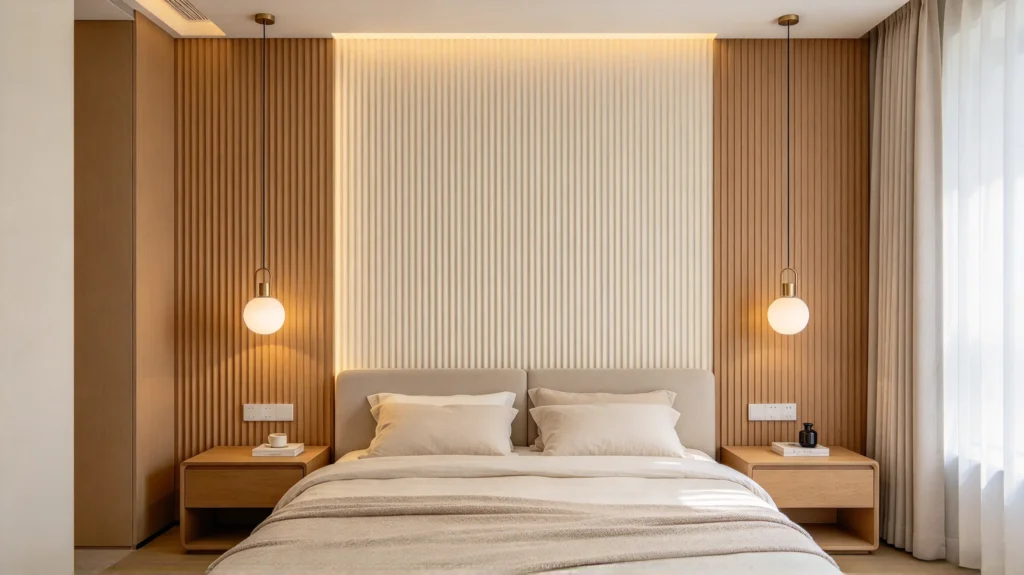
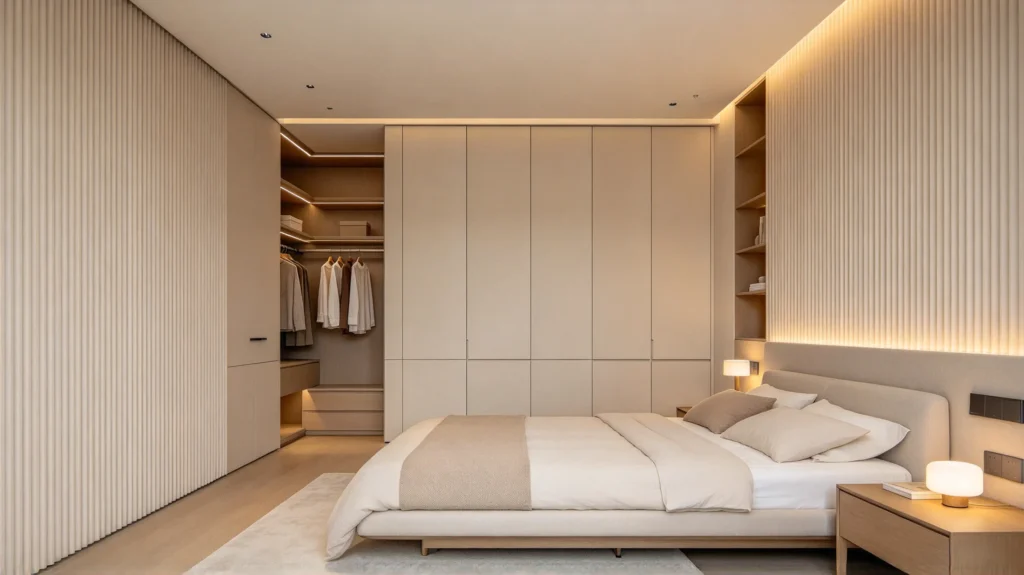
3. Turn a Fluted Panel into a Bedroom Headboard
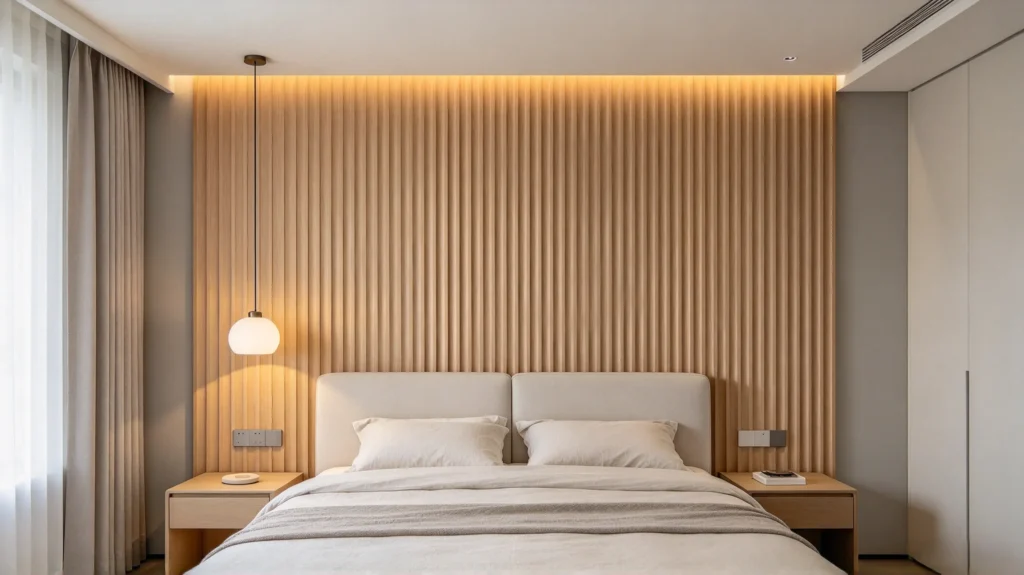
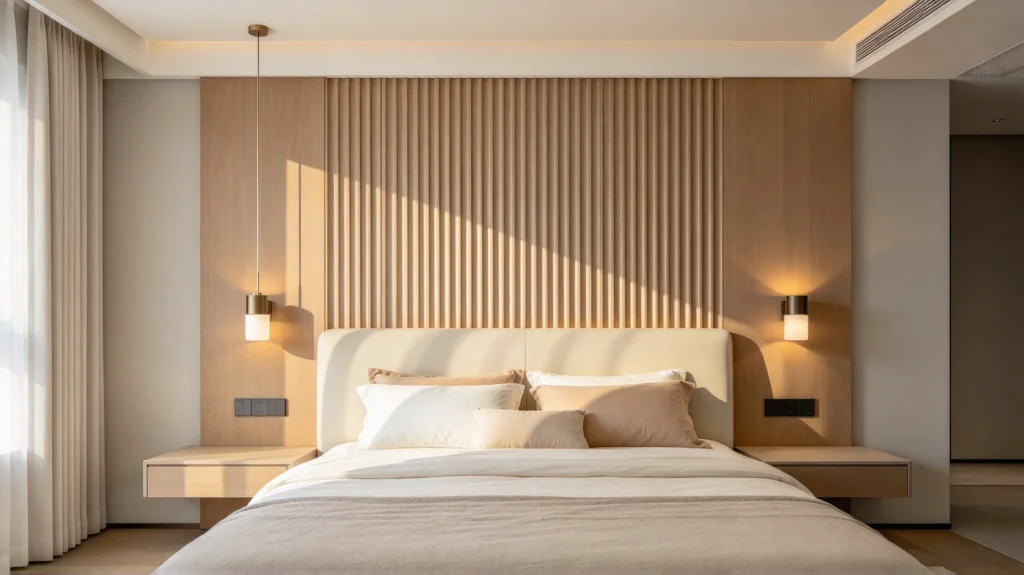
A fluted wall can replace a conventional upholstered or wooden headboard.
One option is to extend the panel across the entire wall behind the bed. Another is to limit the panel to the width of the bed, creating a more concentrated focal point.
For bedrooms, lighter wood tones and warm neutrals tend to create a softer atmosphere. Darker finishes can also work, particularly when balanced with lighter bedding, textiles, or wall colors.
Bedside pendant lights or wall sconces can be positioned in front of the panel to emphasize the texture after dark.
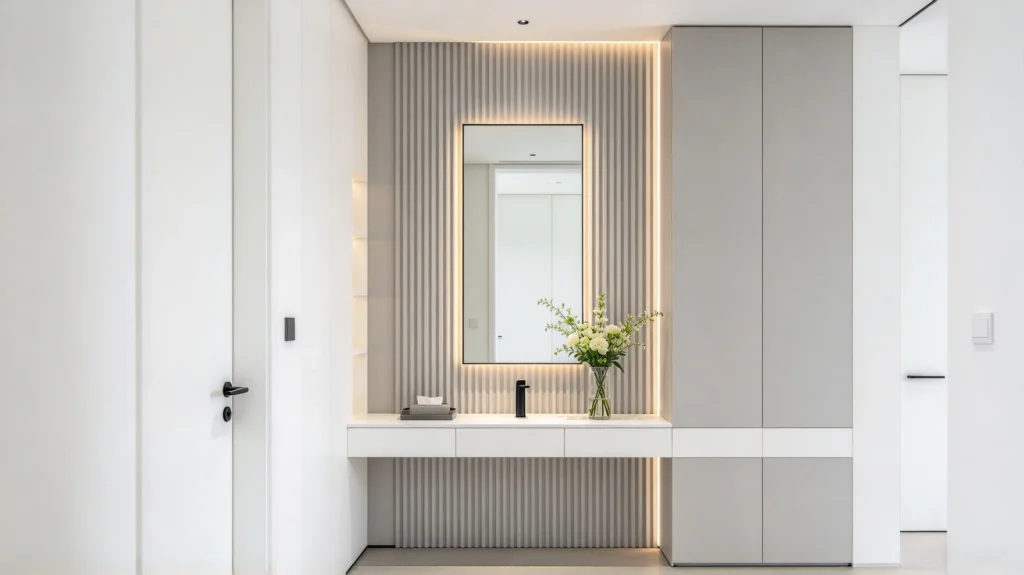
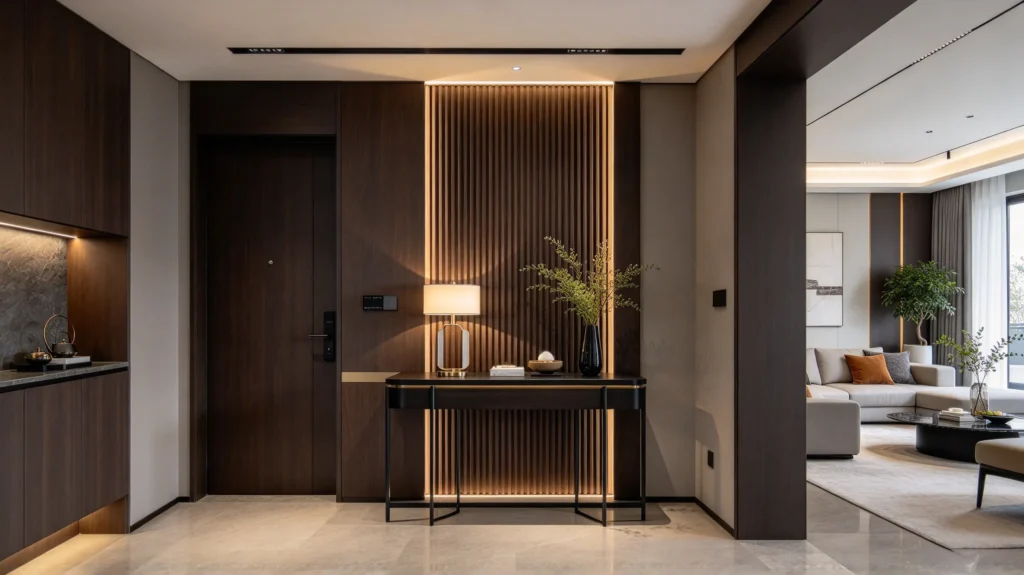
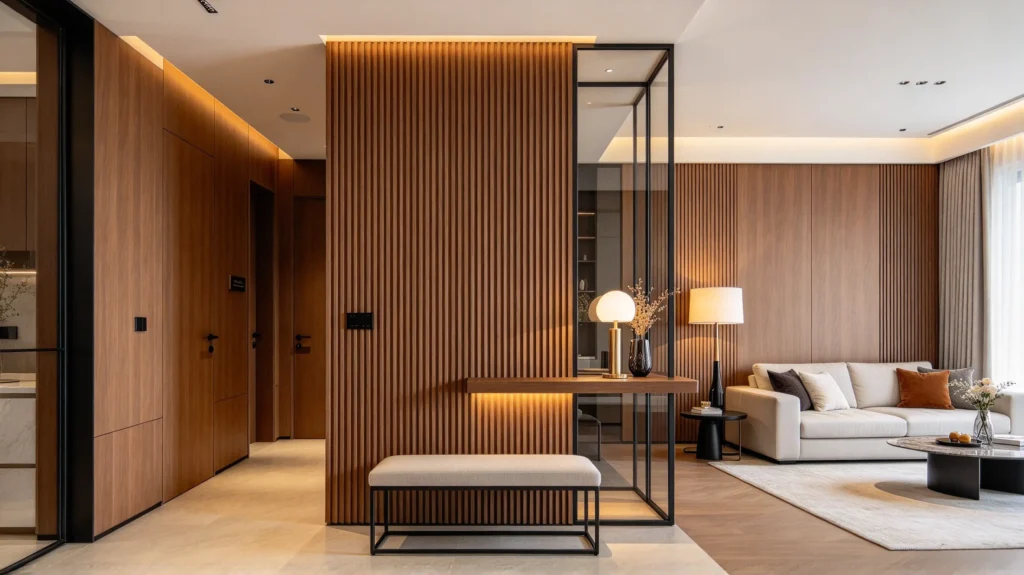
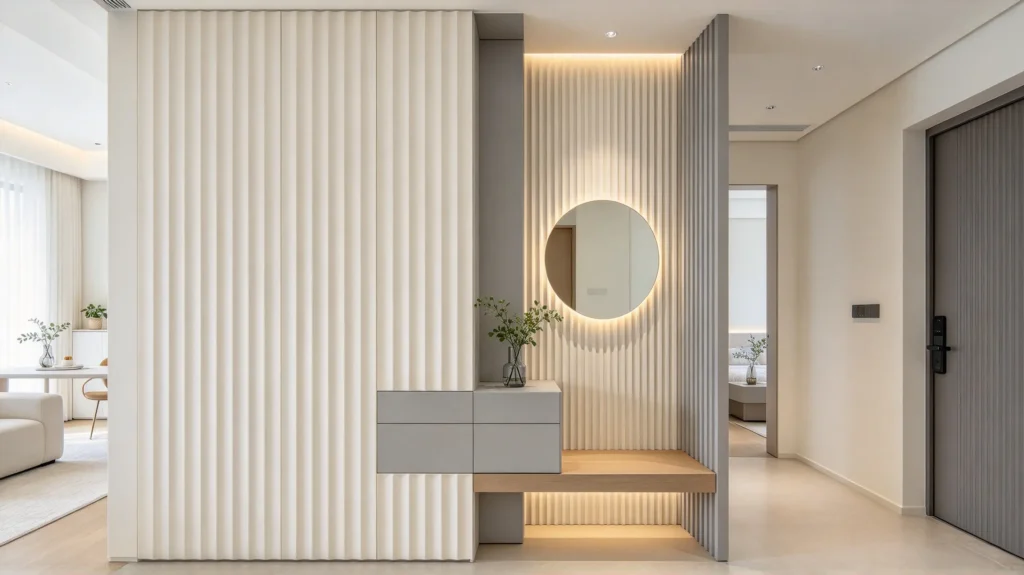
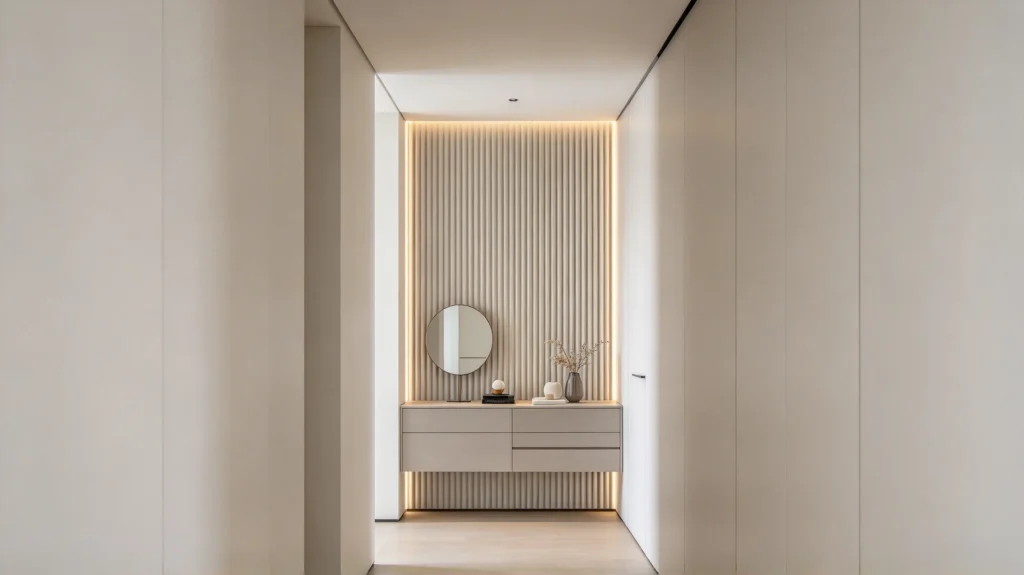
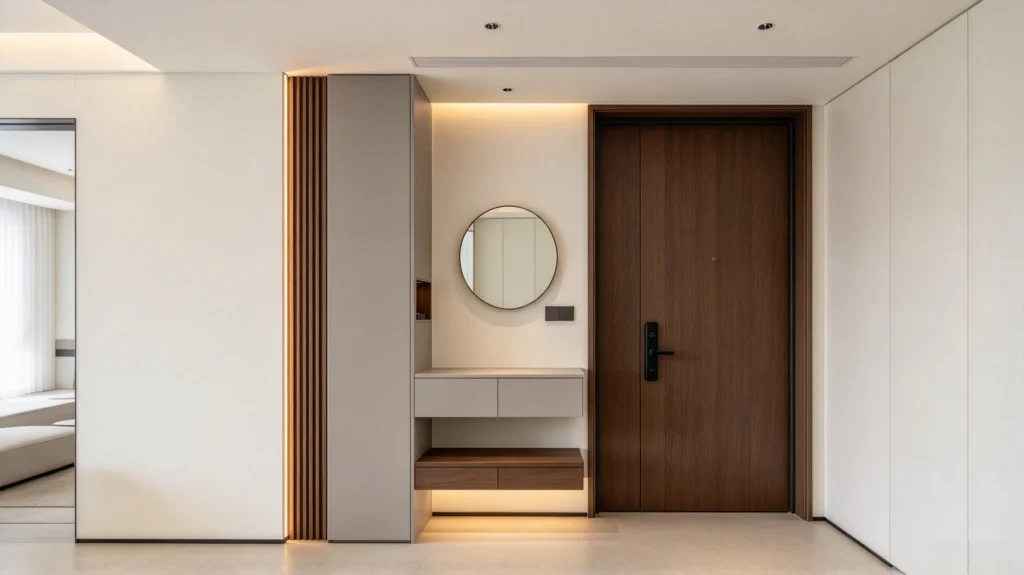
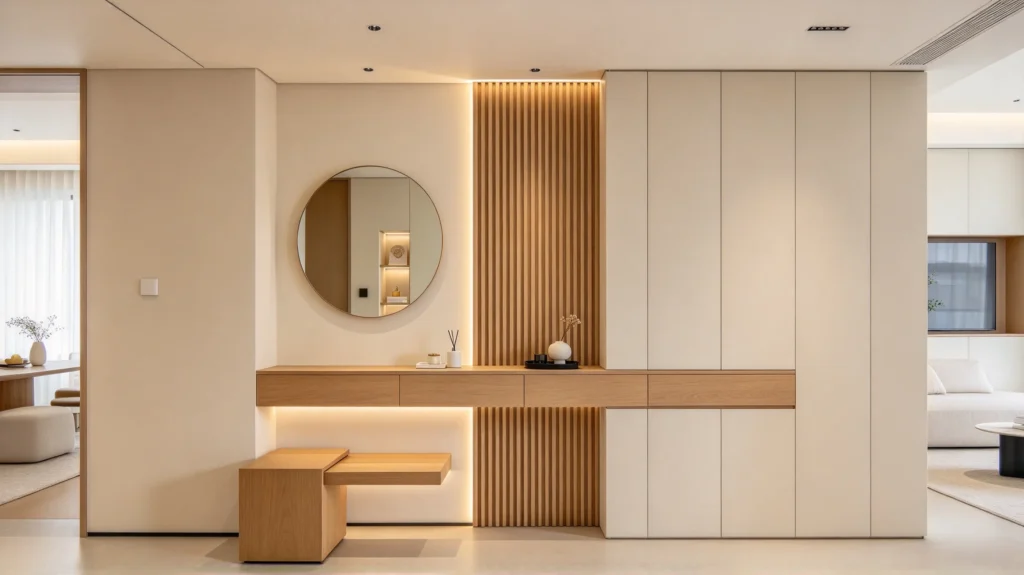
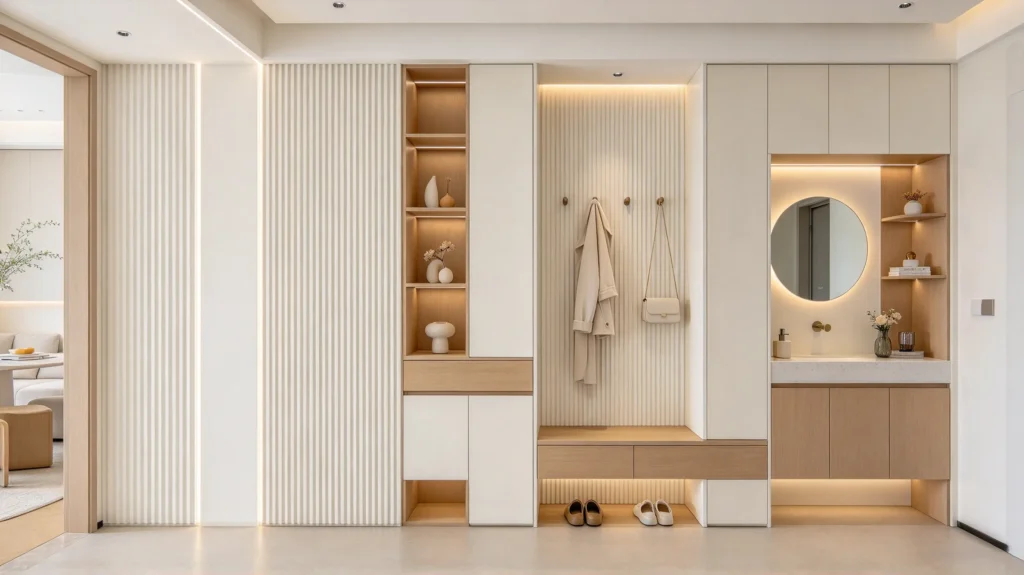
4. Frame an Entryway or Foyer
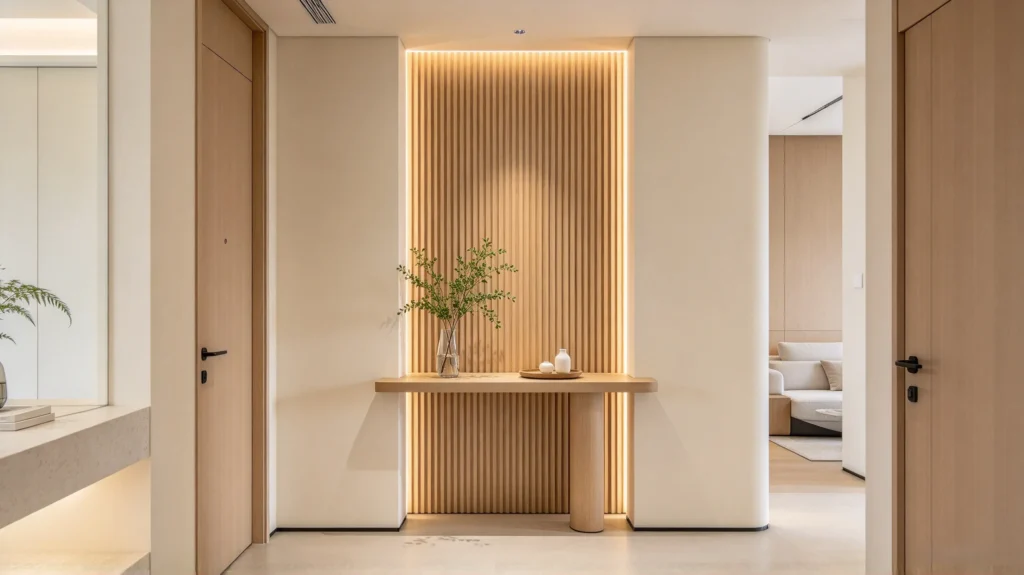
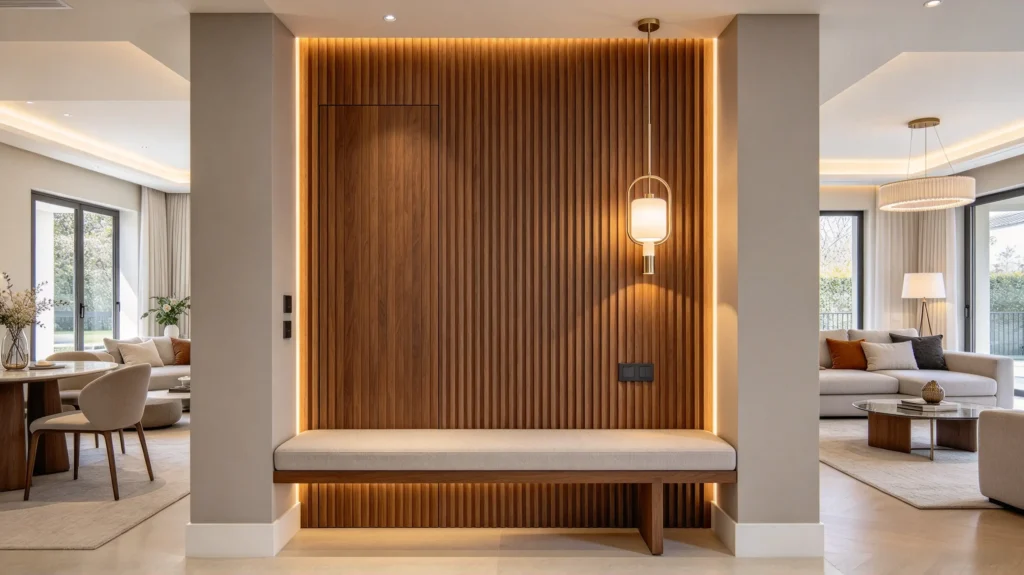
The entryway is a useful place for a smaller fluted-panel installation.
Instead of covering every wall, create a defined feature section behind a console, bench, mirror, or decorative lighting. This gives the entrance a clear focal point without making a relatively small area feel visually crowded.
For a welcoming look, consider:
- Light oak with beige or cream
- Warm walnut with soft lighting
- Light grey with white
- Natural wood with greenery
- Dark finishes with restrained metallic details
A narrow fluted panel section can also visually separate the entrance from an open-plan living area.
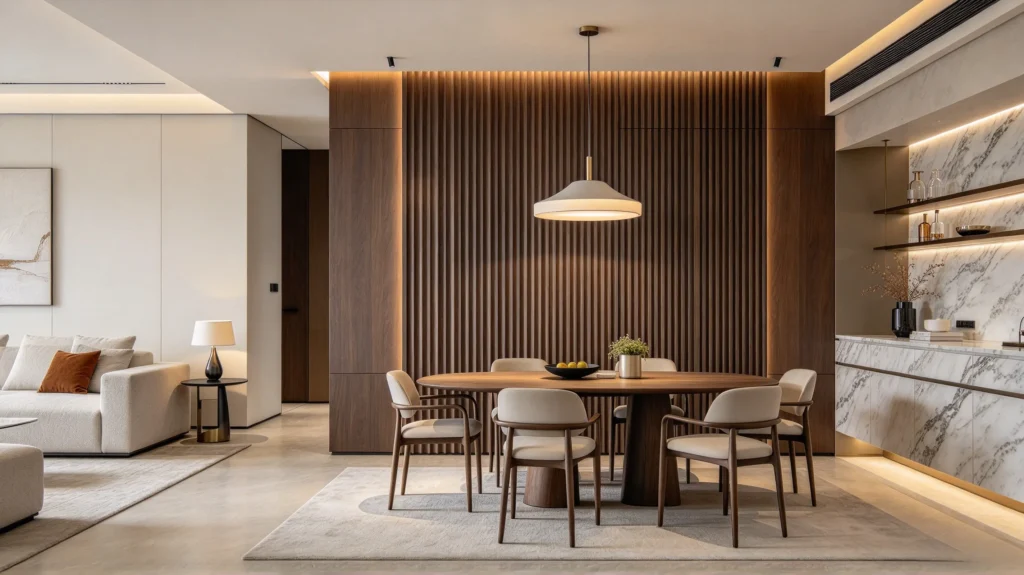
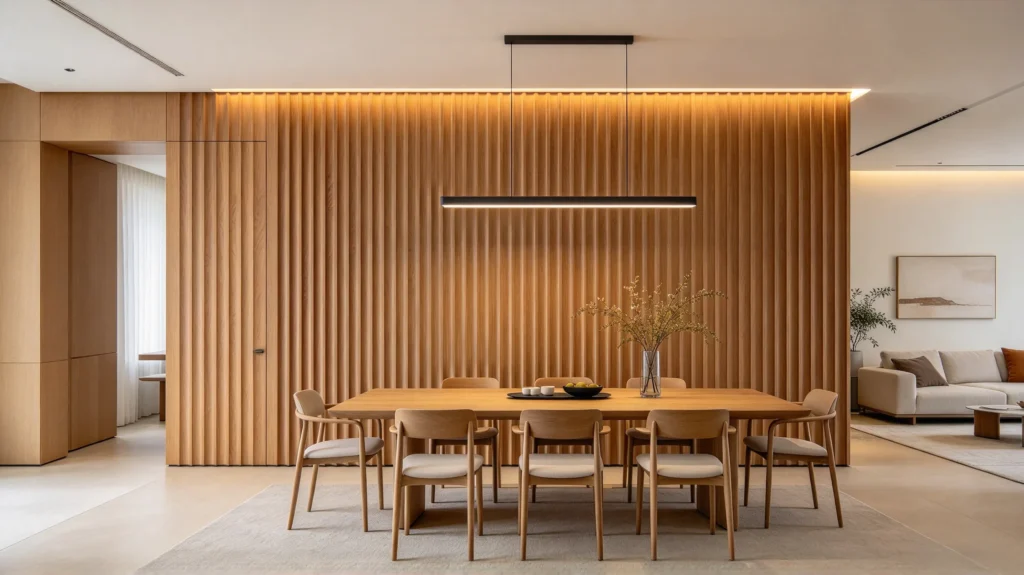
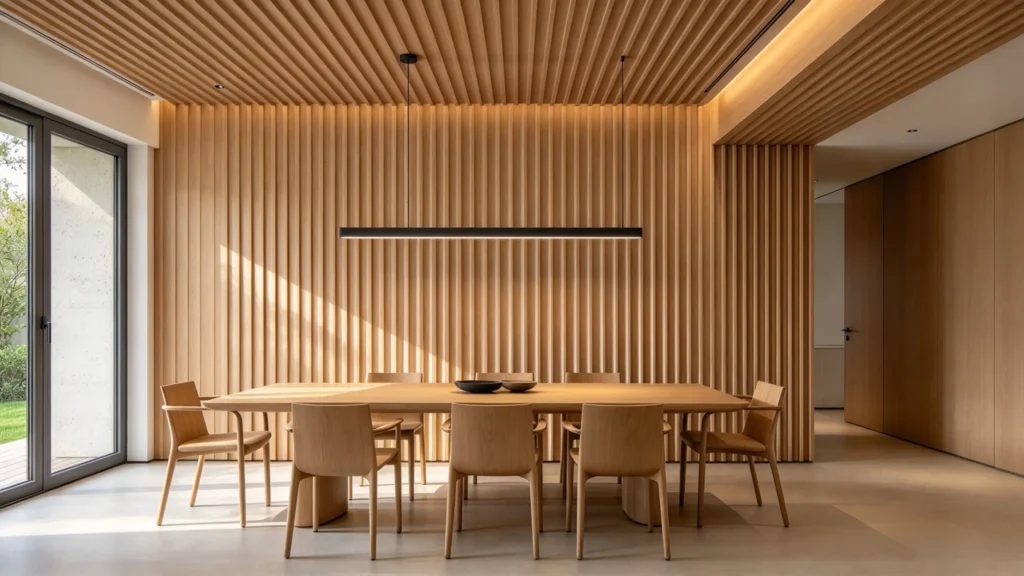
5. Add Texture to a Dining Room
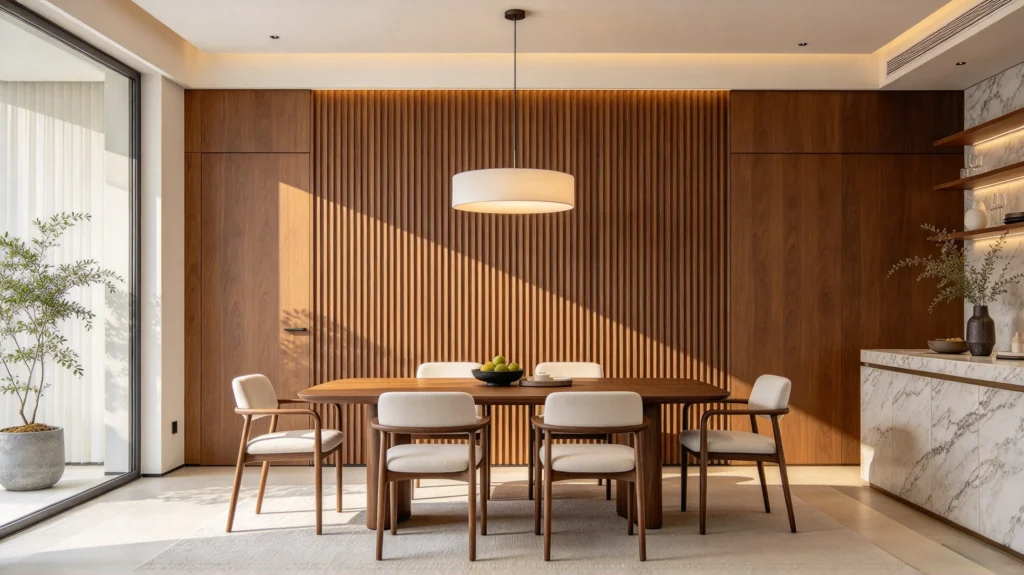
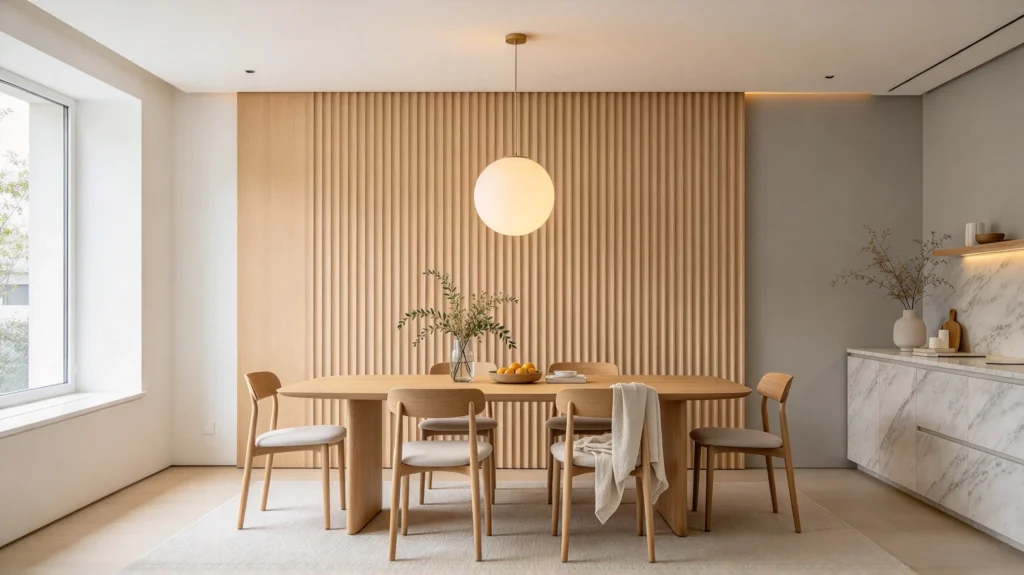
A dining room feature wall can use fluted panels to establish a stronger visual background without requiring artwork or extensive decoration.
A full-height installation works well behind the dining table, particularly when the wall is visible from adjacent living areas.
For a warmer dining environment, wood-look panels can be combined with:
- Natural timber furniture
- Pendant lighting
- Neutral upholstery
- Stone surfaces
- Plants and other natural textures
The goal is to create a layered material palette rather than simply adding another decorative surface.
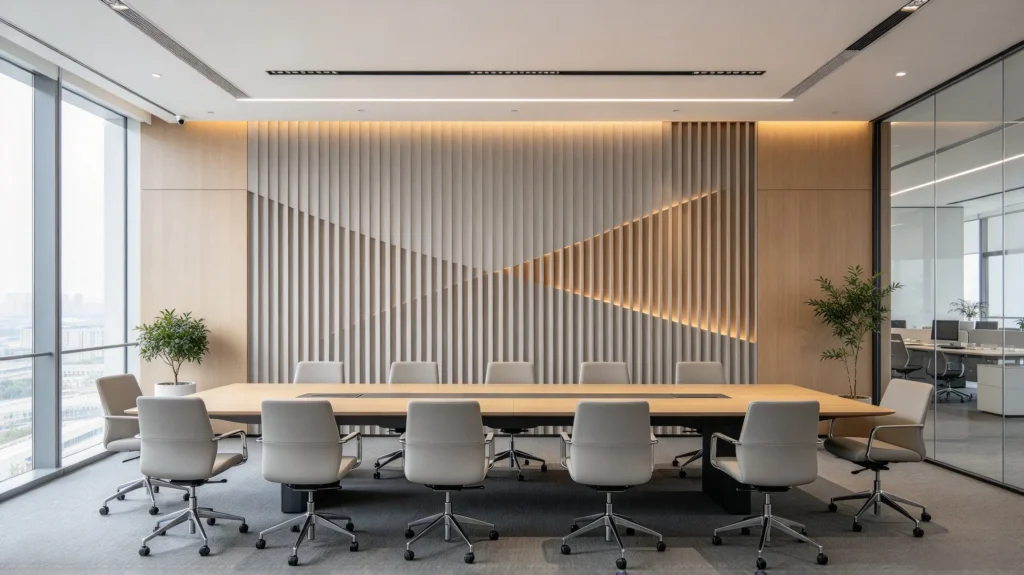
6. Use Fluted Panels in a Office
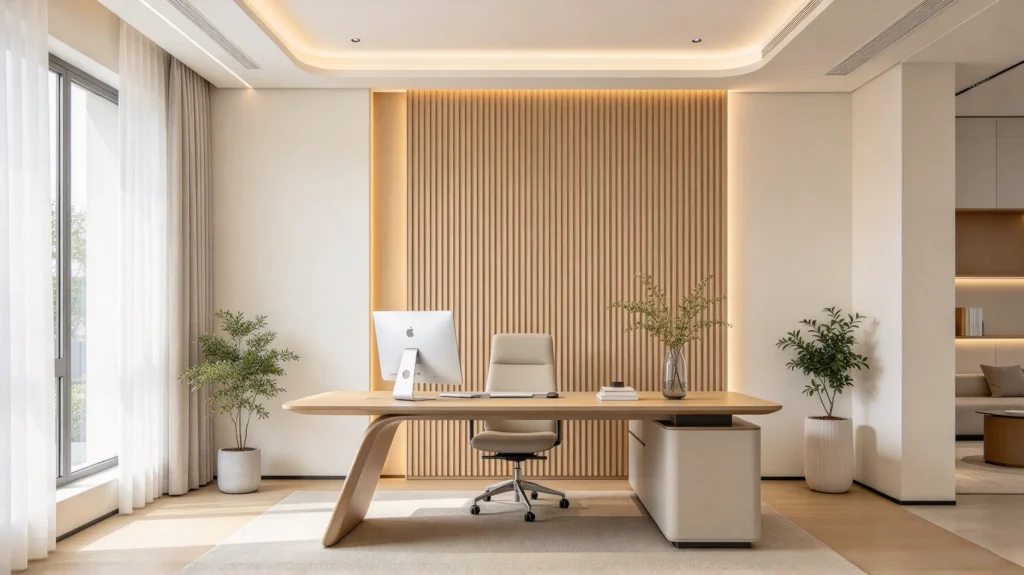
A fluted wall can provide texture behind a desk or video-call background while keeping the overall design relatively simple.
For a home office, consider using the panel as a defined backdrop rather than covering every wall. A muted wood finish or neutral color can add depth without becoming distracting.
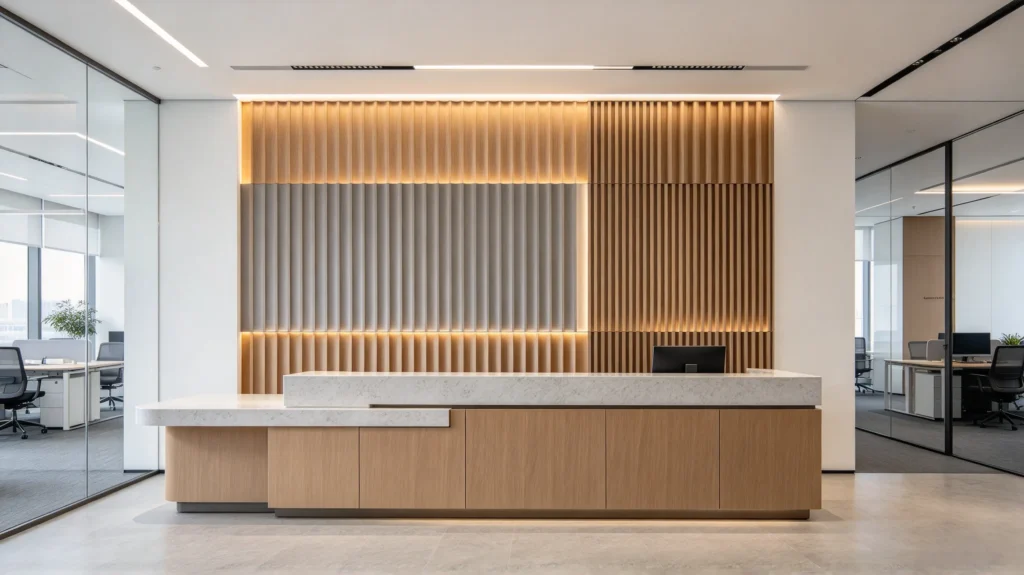
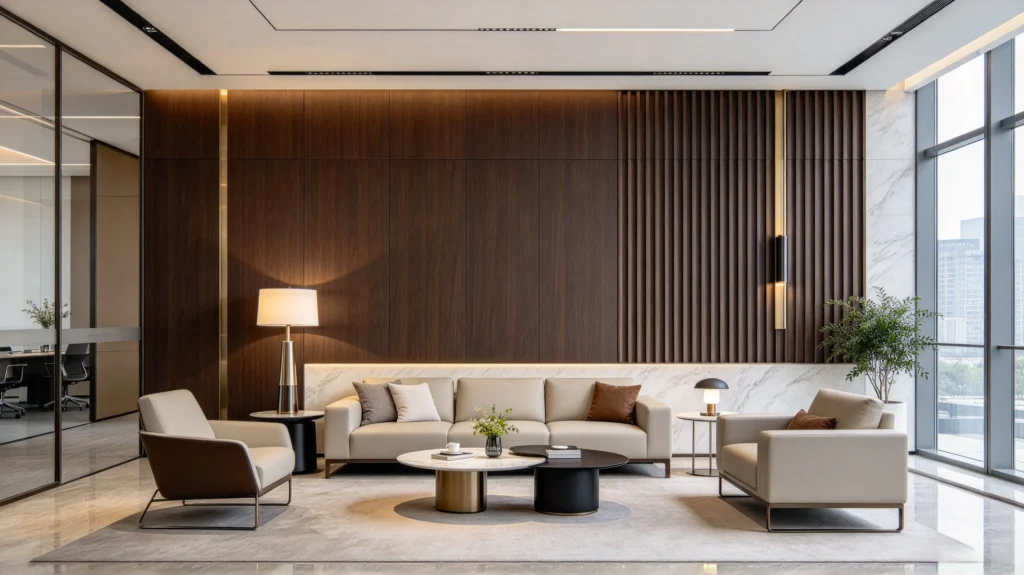
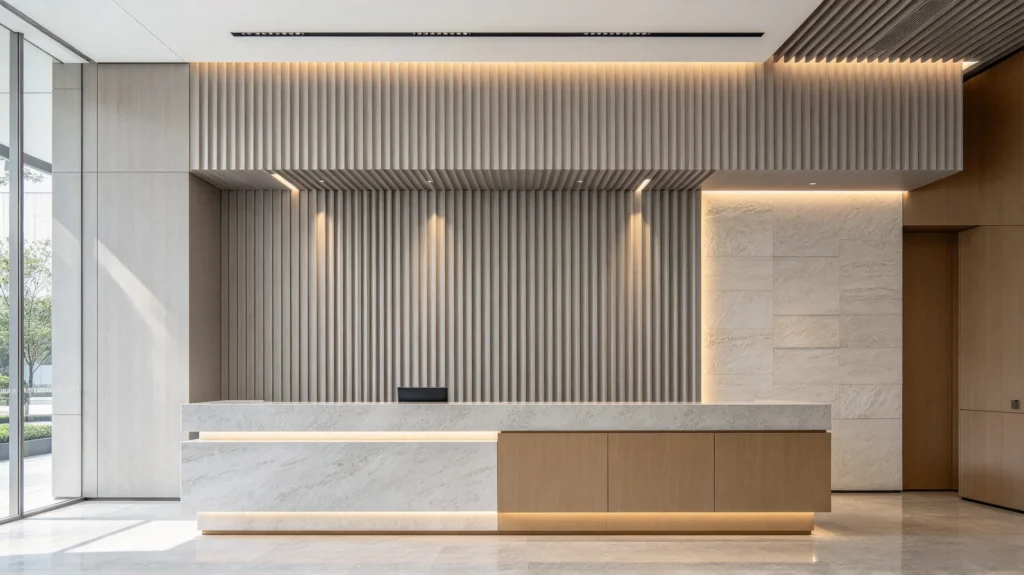
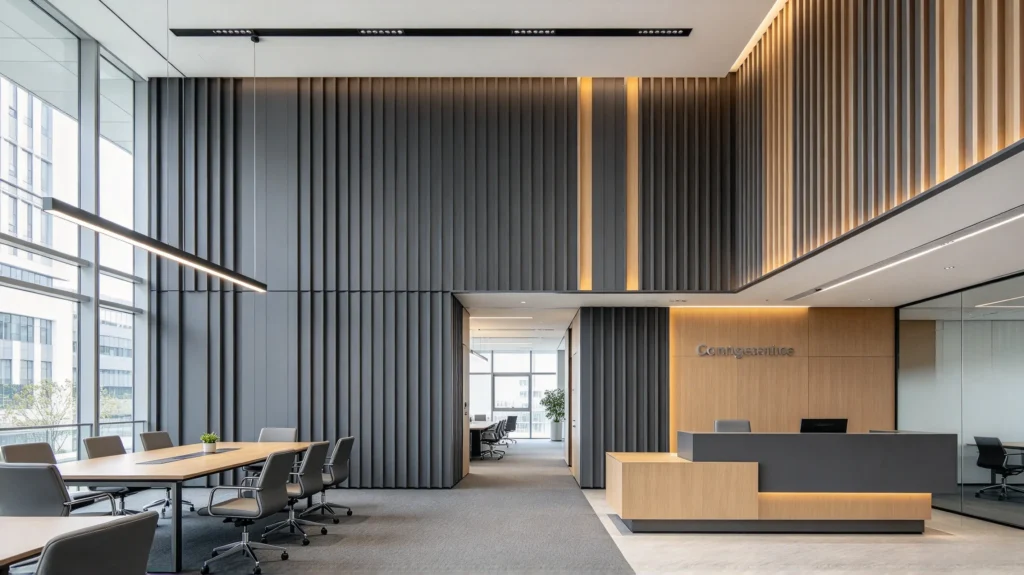
The same principle applies to commercial offices. Fluted panels can be used behind reception desks, conference tables, or selected wall sections where a more structured background is needed.
Recent design guidance also emphasizes coordinating panel coverage and lighting early because the profile’s appearance depends heavily on how light reaches the grooves.
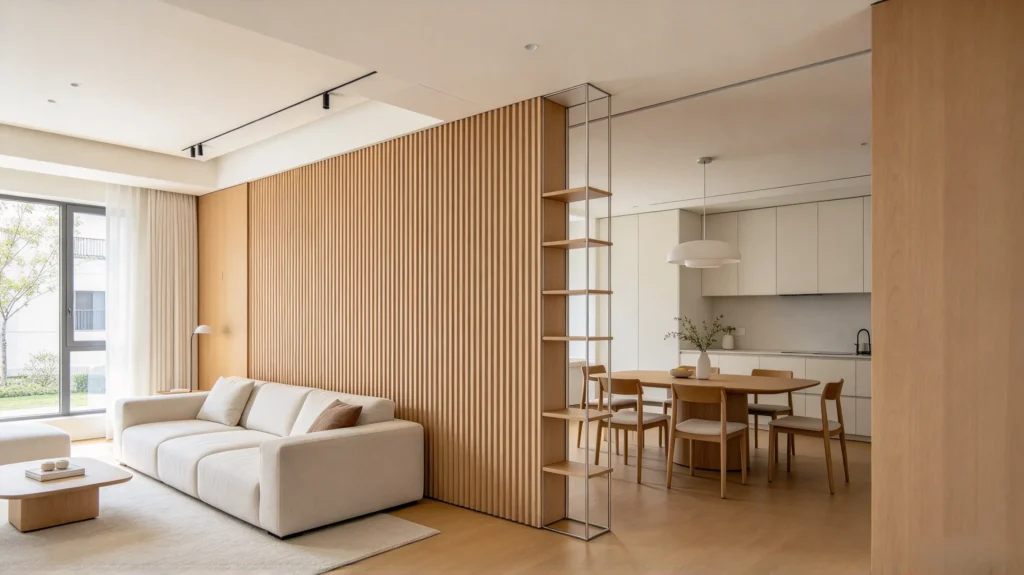
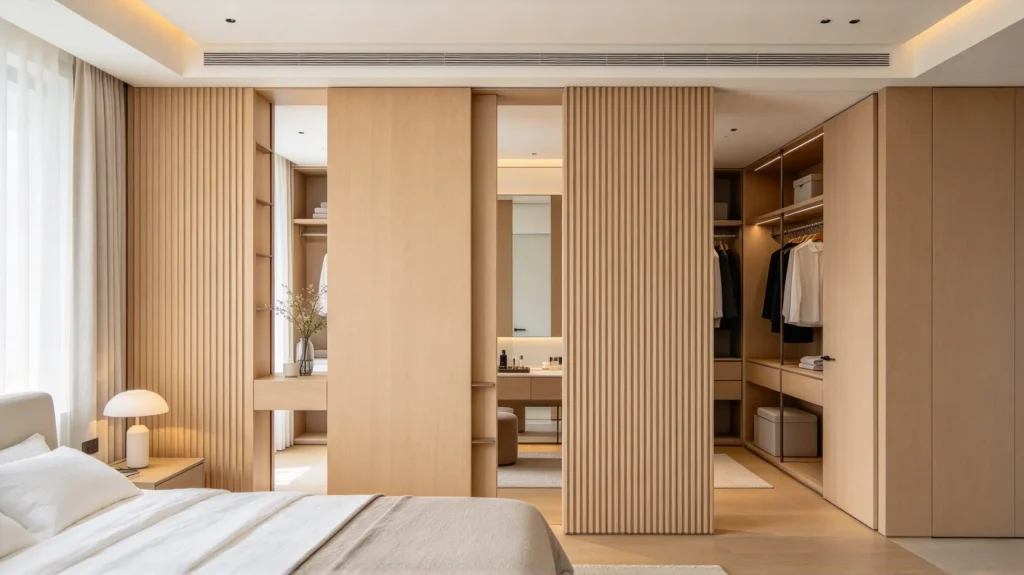
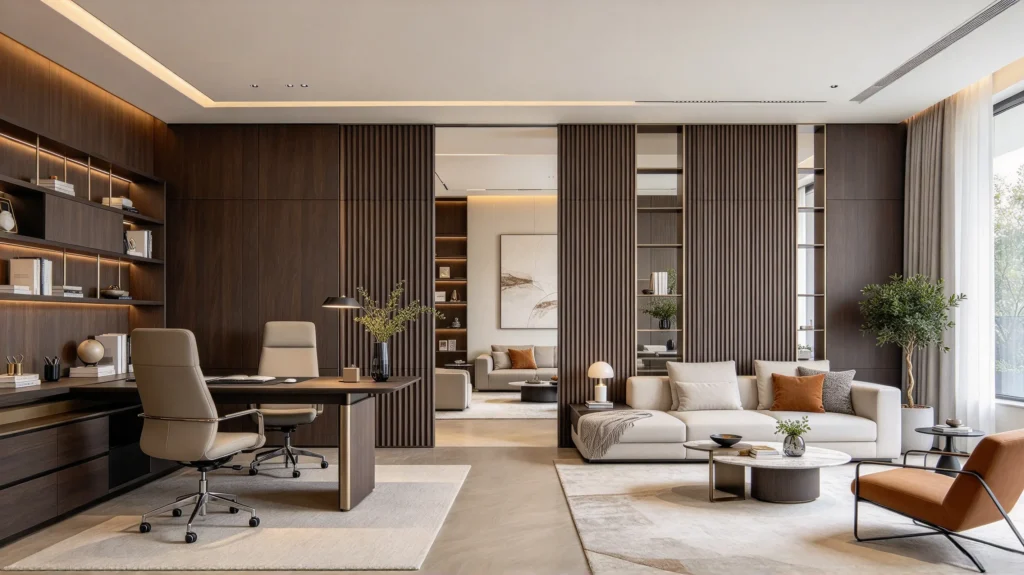
7. Define an Open Space with a Fluted Room Divider
Fluted panels do not have to sit directly against a solid wall.
They can also be incorporated into a room divider to separate:
- Living room and dining area
- Entryway and living room
- Bedroom and dressing area
- Home office and living space
This approach is particularly useful in open-plan interiors because the vertical pattern creates separation while maintaining visual continuity.
Depending on the design, the divider can be partially open or combined with a supporting frame.
8. Extend the Design from Wall to Ceiling
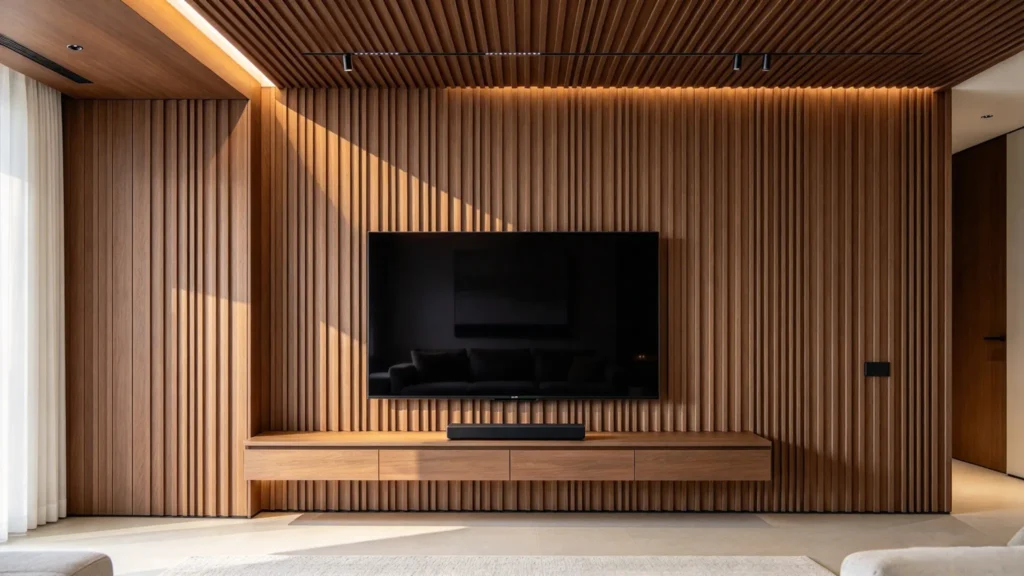
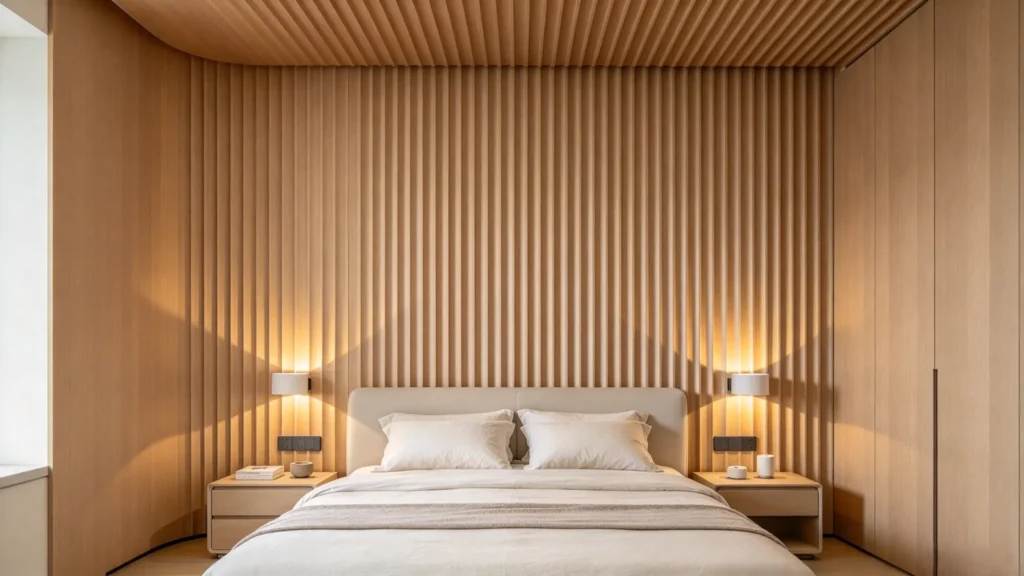
For a more architectural treatment, fluted panels can continue from a wall onto part of the ceiling.
This can help visually connect two surfaces and define a particular zone, such as:
- A dining area
- A TV wall
- A reception desk
- A bed area
- A lounge or waiting area
This application needs more attention to proportion than a standard accent wall. The panel should have a clear stopping point rather than simply ending wherever the material runs out.
Lighting should also be planned together with the panel layout. Grazing or indirect light can emphasize the ribs and grooves, while direct frontal lighting tends to produce a flatter appearance.
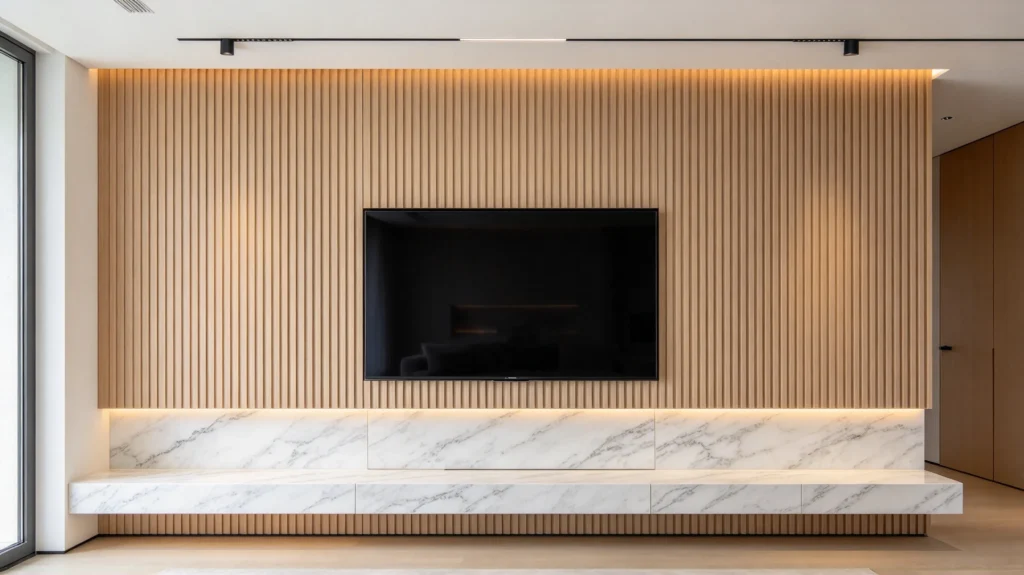
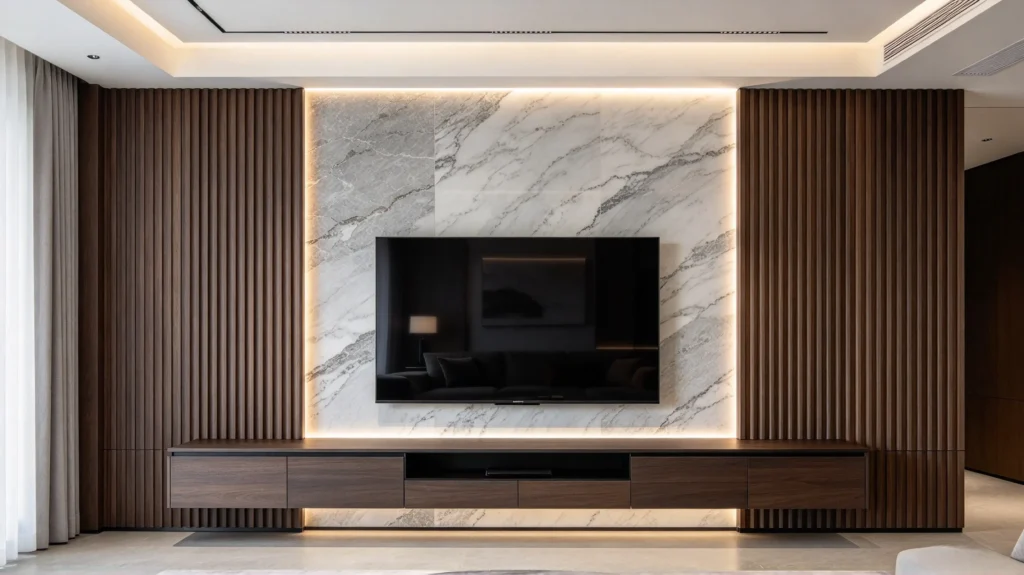
9. Combine Fluted Panels with Stone
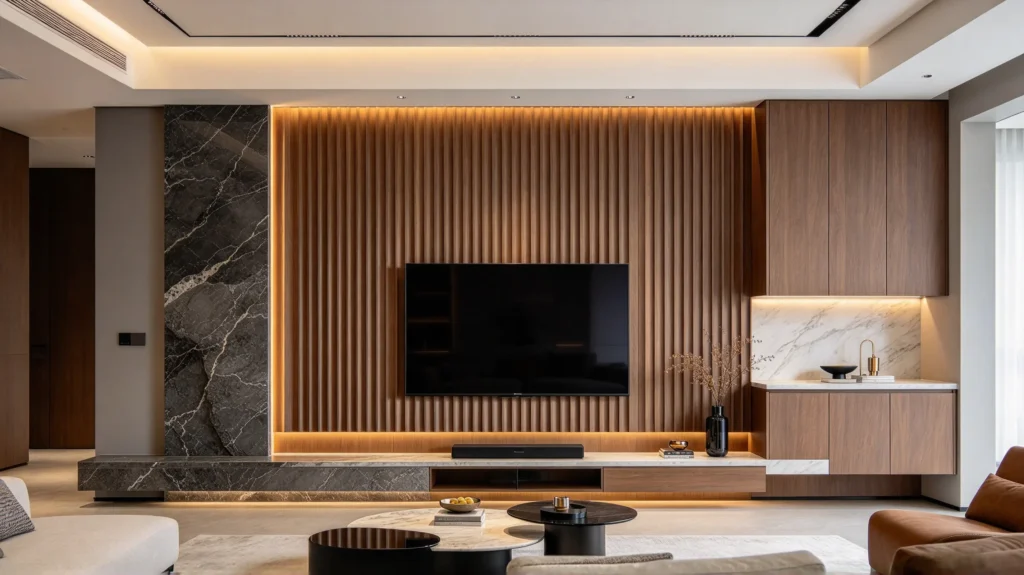
Fluted texture and stone provide a useful contrast because they create two different surface effects.
The fluted panel contributes repeated vertical lines and soft shadows, while stone introduces a larger-scale pattern.
For example, a TV wall can combine:
- Fluted wood-look panel
- Marble or stone-effect section
- Floating cabinet
- Warm indirect lighting
The key is to give each material a defined role. If both surfaces have strong patterns, using them across the entire wall can make the composition unnecessarily busy.
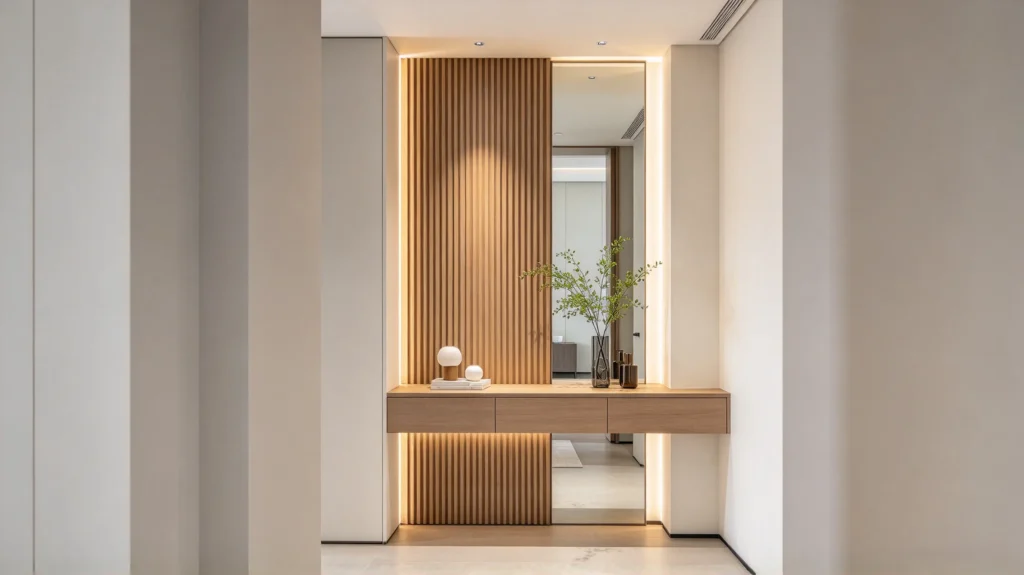
10. Pair Fluted Panels with Flat Wall Surfaces
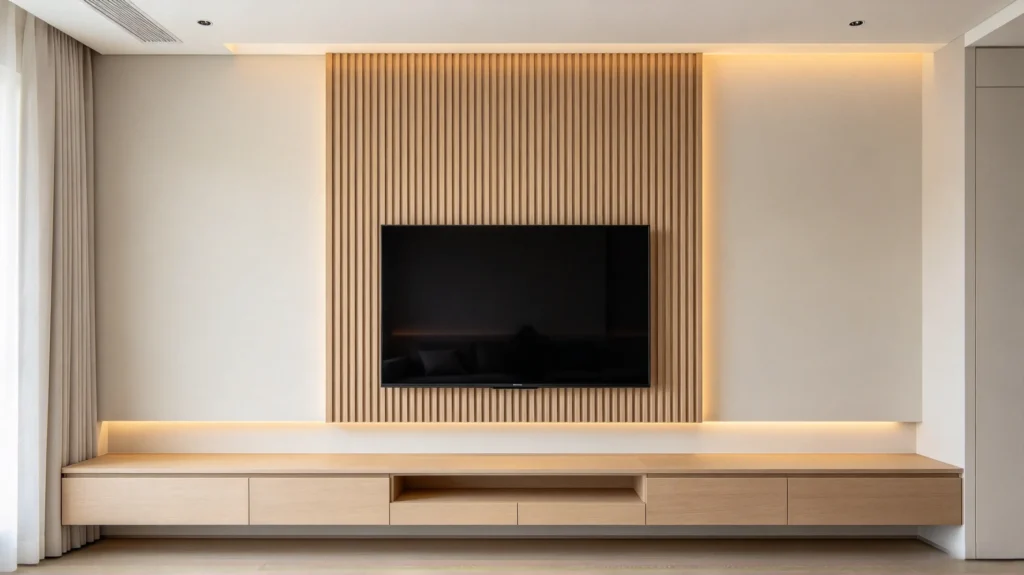
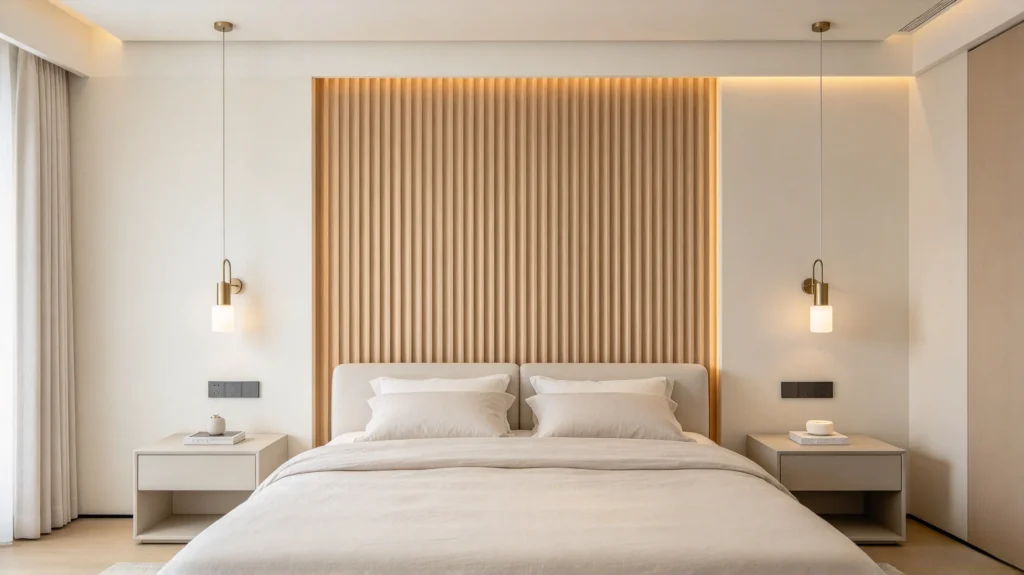
You do not have to use fluted panels everywhere.
One of the simplest ways to control their visual weight is to combine them with a flat painted or finished wall.
For example:
Fluted panel → central section
Flat wall → surrounding areas
This approach works particularly well around televisions, beds, entry consoles, and architectural niches.
The contrast between the textured and smooth surfaces makes the fluting more noticeable without requiring a darker color.
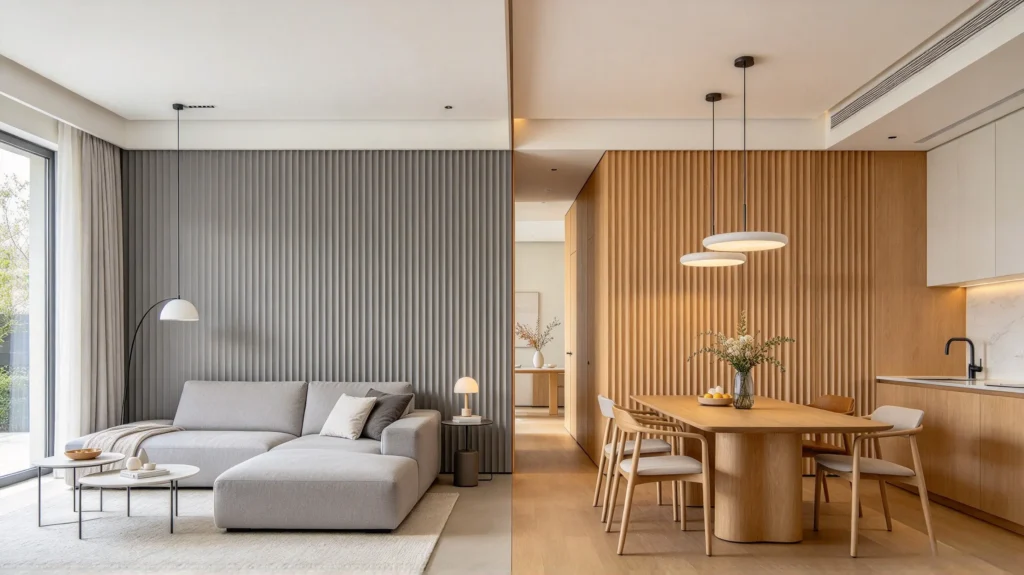
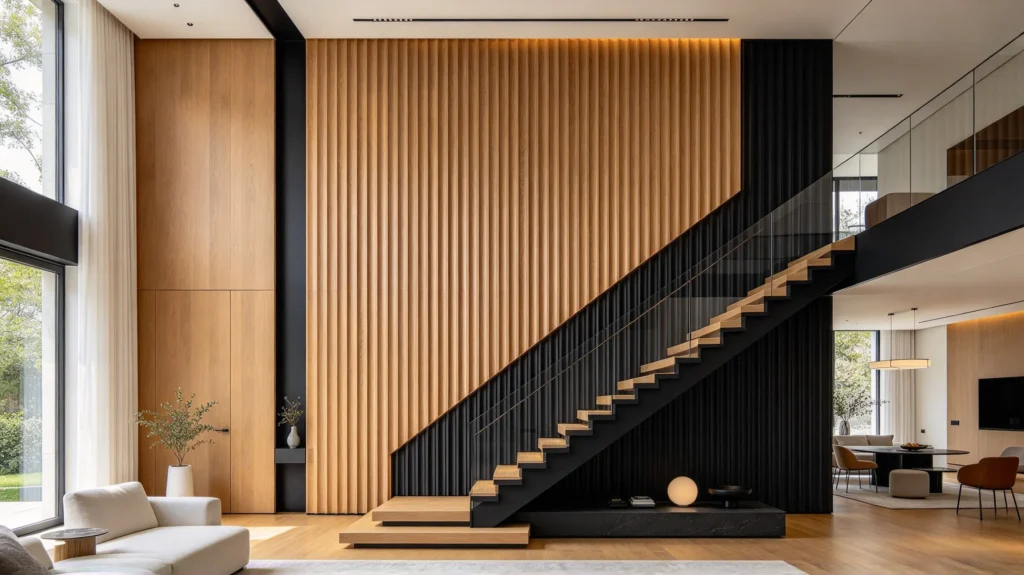
11. Use Two-Tone Fluted Wall Designs
Color can be used to divide a large fluted wall into visual zones.
Some combinations that work well include:
- Natural oak + charcoal
- Walnut + warm beige
- Ivory + light ash
- Grey + natural wood
- Black + oak
Lighter combinations are generally easier to use in smaller rooms or spaces with limited natural light. Darker combinations can create more depth and contrast but require enough surrounding light and visual balance.
The two colors do not necessarily need to occupy equal areas. A darker tone can be used as a narrow frame or secondary section around a larger natural wood surface.
12. Use Different Flute Scales for Different Effects
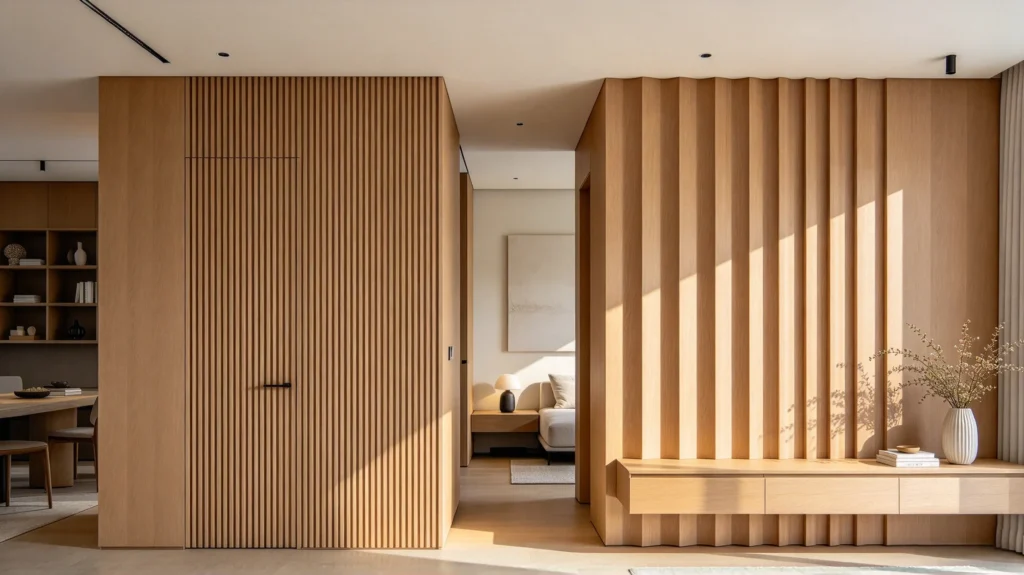
Not all fluted panels create the same visual rhythm.
The width and depth of the grooves influence how prominent the texture appears.
Fine fluting
Fine grooves create a denser pattern and can work well when you want texture without making the wall the dominant feature.
Wider fluting
Wider grooves create stronger shadow lines and a more architectural appearance. They can work particularly well on large feature walls where a finer pattern could become visually repetitive.
The scale should also relate to the size of the wall. A small panelled section can become visually crowded if the profile is too dense, while a very large wall may need a stronger profile to maintain its visual presence.
13. Create a Narrow Accent Instead of Covering the Whole Wall
A fluted panel does not need to occupy an entire wall to make an impact.
A narrow vertical section can be used:
- Beside a TV
- Behind a console
- Next to a doorway
- Between two architectural openings
- Around a built-in cabinet
- At the end of a hallway
This is particularly useful when you want to introduce texture without changing the overall visual balance of the room.
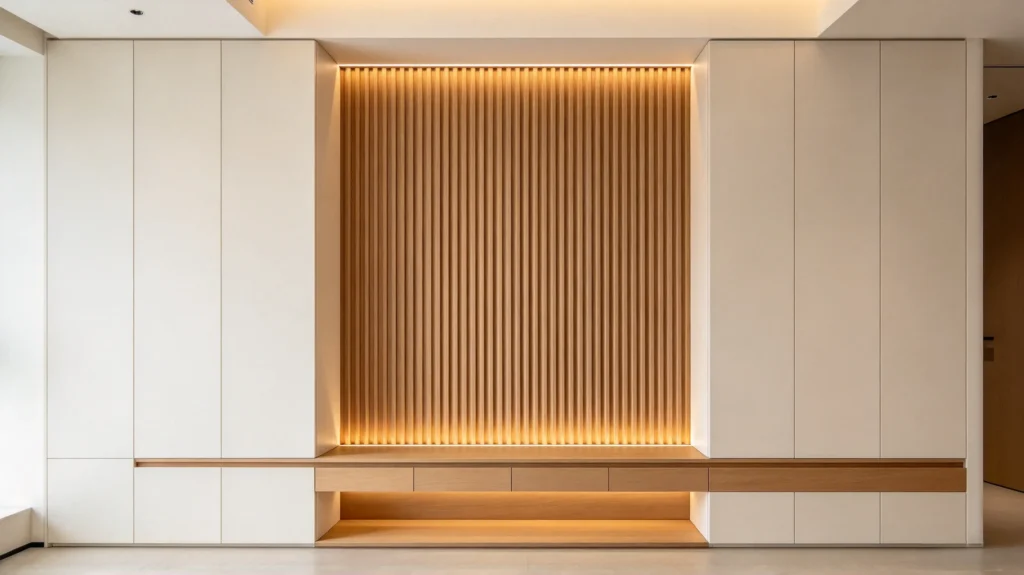
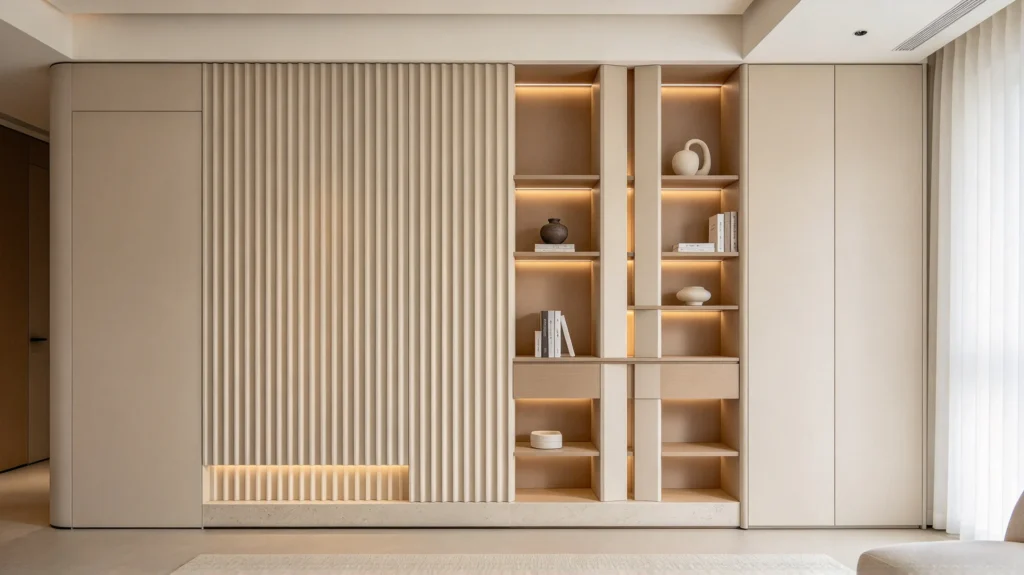
14. Integrate Fluted Panels with Built-In Cabinetry
Fluted panels can become part of a larger built-in composition rather than remaining an isolated wall finish.
For example, the panel can continue behind:
- Floating media cabinets
- Display shelving
- Storage units
- Entryway consoles
- Bedroom wardrobes
Using related colors and finishes helps the cabinetry and wall read as one composition.
This approach is especially effective when the goal is to reduce visual clutter. Instead of treating the wall, cabinet, and decorative surface as separate elements, they can be designed as one continuous architectural feature.
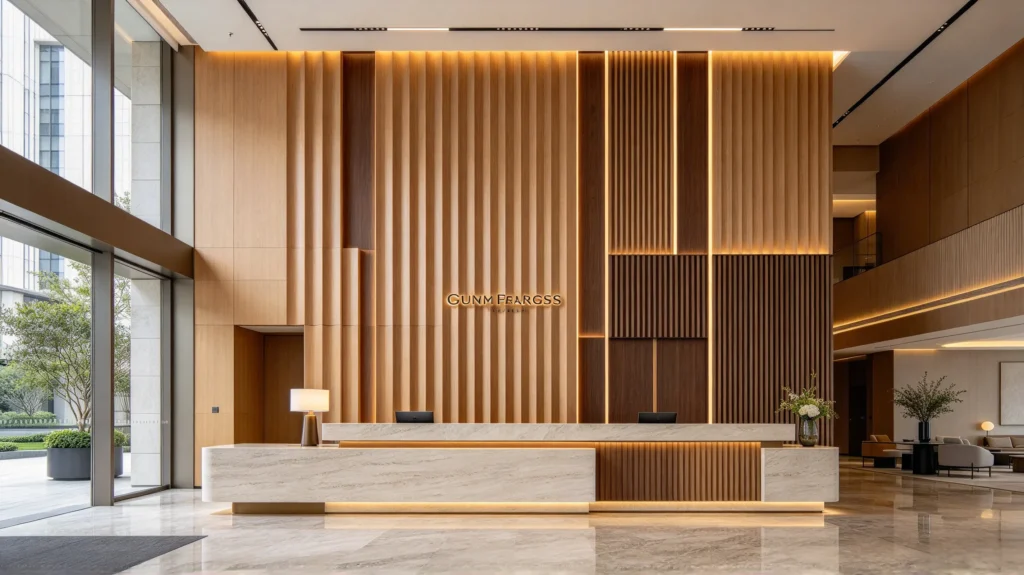
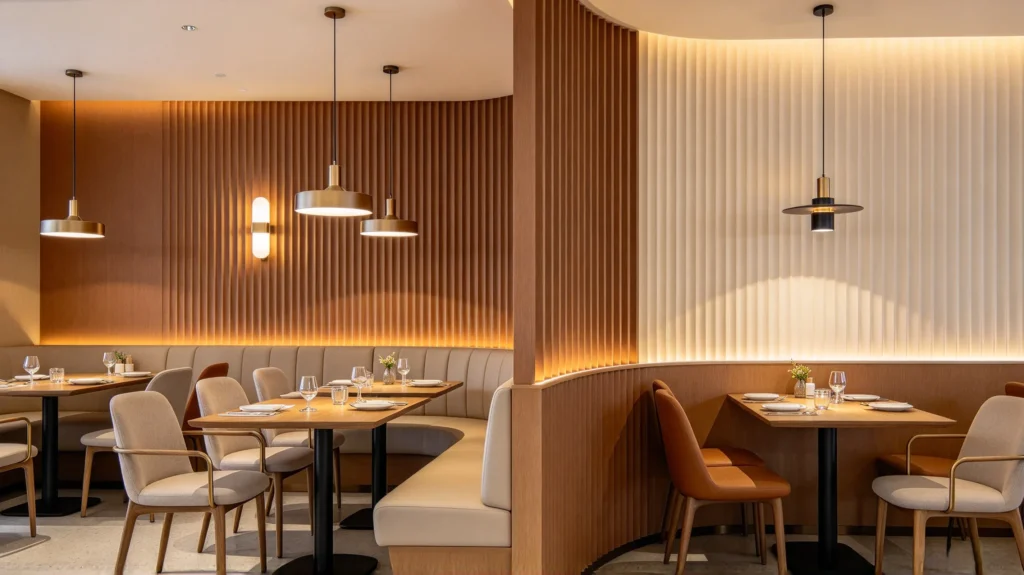
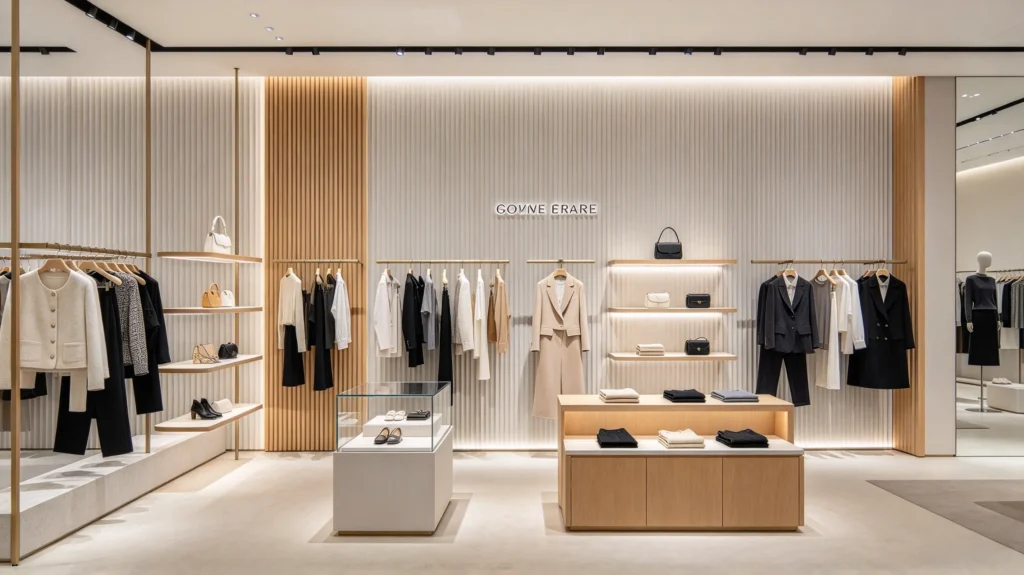
15. Bring Fluted Texture into Commercial Interiors
The same design principles work in commercial spaces, where fluted panels can create defined visual zones without requiring elaborate decoration.
Potential applications include:
- Hotel reception areas
- Restaurant feature walls
- Retail interiors
- Office reception areas
- Conference rooms
- Showrooms
- Waiting areas
- Salon and hospitality interiors
In these spaces, the panel can be used behind a reception desk, brand signage, seating area, or display zone.
The scale of the installation matters. A large commercial wall can accommodate stronger fluting, while smaller reception areas may benefit from a narrower feature section.
How to Choose the Right Fluted Wall Panel Design
The best design is not necessarily the one with the most texture. Before choosing a layout, consider the room itself.
Consider the Wall Size
A large wall can usually support a full-height fluted treatment more easily than a small wall.
For smaller spaces, a central section, narrow accent, or half-wall treatment may create enough texture without overwhelming the room.
Consider Natural Light
Light changes how the grooves appear.
A well-lit room can accommodate darker finishes more easily, while a poorly lit space may benefit from lighter colors and more reflective surrounding surfaces.
The position of artificial lighting matters as well. Light that travels across the grooves creates stronger highlights and shadows than direct light aimed straight at the panel.
Consider the Existing Floor and Furniture
The panel should relate to the materials already present in the room.
If the floor has a strong wood grain, for example, using another highly contrasting wood finish may create unnecessary visual competition. A related tone or neutral panel can create a more cohesive transition.
Similarly, stone, metal, glass, fabric, and painted walls can all be used to balance the repeated texture of fluted panels.
Decide How Much of the Wall to Cover
There are four common approaches:
Full wall: Best when the fluted surface is intended to become a major architectural element.
Partial wall: Useful for TV areas, headboards, and feature zones.
Narrow accent: Suitable when only a small amount of texture is needed.
Wall-to-ceiling: Creates a stronger architectural statement and requires careful coordination with lighting and surrounding details.
Think About the Final Lighting Before Installation
Lighting should not be treated as an afterthought.
A fluted panel’s three-dimensional effect comes largely from the relationship between its profile and the light hitting it. Concealed LED strips, wall washing, or carefully positioned fixtures can emphasize the grooves, while poorly positioned frontal lighting may flatten the effect.
How to Avoid Making a Fluted Wall Look Too Busy
Fluted panels already provide a strong visual pattern, so restraint is often more effective than adding more decorative elements.
Keep the surrounding surfaces relatively simple
A fluted wall paired with heavily patterned wallpaper, bold stone, elaborate shelving, and multiple decorative objects can quickly become visually crowded.
Give the panel a clear purpose
Ask what the panel is supposed to do:
- Frame the TV
- Define the bed
- Highlight an entryway
- Separate two spaces
- Create a reception backdrop
Once the purpose is clear, it becomes easier to decide how much wall to cover.
Balance texture with smooth surfaces
Painted walls, simple furniture, glass, stone, and clean-lined cabinetry can provide visual relief.
Use dark colors selectively
Dark fluted panels can create depth and contrast, but a large dark textured wall can also become visually heavy in a small or poorly lit room.
Coordinate the panel with the architecture
A fluted panel looks more intentional when its edges, corners, cabinetry, doors, lighting, and stopping points are planned as part of the overall design.
Choosing a Fluted Wall Panel for Different Applications
Design is only one part of the decision. The panel should also be appropriate for the environment where it will be installed.
For residential feature walls, the main considerations may be:
- Finish and color
- Groove profile
- Panel dimensions
- Installation method
- Compatibility with lighting and cabinetry
For commercial interiors, you may also need to consider:
- Traffic level
- Cleaning requirements
- Project scale
- Installation schedule
- Material performance
- Consistency across larger areas
For areas exposed to moisture, always check the specific product’s moisture resistance, installation requirements, and recommended application rather than assuming every fluted panel has the same performance.
This is especially important when choosing between different panel materials and construction types.
Final Thoughts
Fluted wall panels offer more than a decorative texture. They can define zones, frame architectural features, add depth, and connect walls with furniture, lighting, and other materials.
The strongest designs usually start with a clear purpose and then determine the layout, coverage, color, profile, and lighting around that purpose. Whether the goal is a warm bedroom headboard, a structured TV wall, a subtle entryway accent, or a large commercial feature wall, the panel should support the space rather than compete with it.
For WPC fluted wall panels, the same principle applies: choose the design and material based on the intended application, surrounding finishes, and installation requirements rather than appearance alone.
Looking for WPC fluted wall panels for your project? Contact timmy.wu@timotechs.com to discuss your design and material requirements.